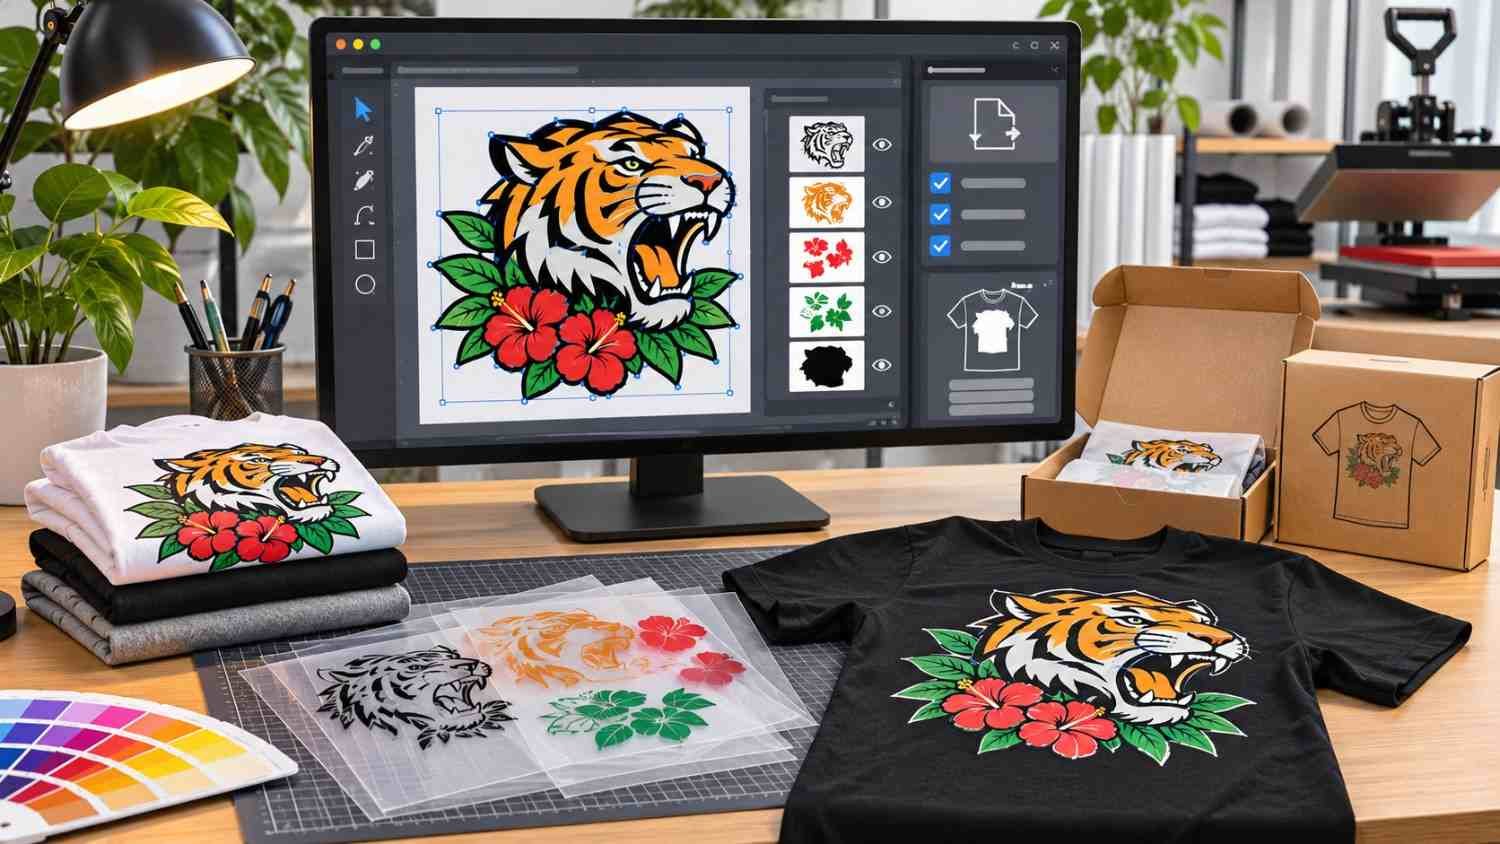
Learning how to make a T-shirt design in Illustrator starts with choosing the right artboard size, creating vector graphics, customizing typography, and exporting print-ready artwork. Adobe Illustrator makes designing custom apparel easier because its vector-based tools allow graphics to scale without losing sharpness.
When I first started experimenting with T-shirt graphics, I realized that good design involves more than creative ideas. Proper dimensions, color settings, and printing requirements make a significant difference. Whether you’re creating merchandise for a US clothing brand or launching a print-on-demand business, this guide will walk you through the complete process.
Why Is Adobe Illustrator Good for T-Shirt Design?
Adobe Illustrator is ideal for custom T-shirt graphics because it uses scalable vector artwork instead of relying entirely on pixels.
Unlike low-resolution JPG images, vector illustrations maintain their sharpness when resized. This makes Illustrator useful for small chest logos, oversized graphics, business uniforms, and promotional merchandise.
I particularly appreciate Illustrator’s Pen Tool, Shape Builder, Pathfinder, and typography features because they provide precise control over artwork.
You can also prepare designs for screen printing, direct-to-garment (DTG), and direct-to-film (DTF) printing.
How to Make a T-Shirt Design in Illustrator Step by Step
The easiest way to understand how to make a T-shirt design in Illustrator is to create a simple project. I’ll use a vintage-inspired mountain graphic with curved lettering to demonstrate the essential techniques.
Step 1: How Do You Set Up the Correct T-Shirt Artboard?
Open Illustrator and select File > New.
For a standard front graphic, start with a 12 × 12-inch artboard. Alternatively, use 16 × 20 inches for larger artwork if your printing provider supports those dimensions.
I recommend following your printer’s exact specifications rather than relying on universal sizes.
Next, choose the appropriate color mode. Many DTG print-on-demand platforms prefer RGB, while traditional print shops may request CMYK or spot colors.
Navigate to Effect > Document Raster Effects Settings and select High (300 PPI). This improves the rendered quality of raster effects such as textures and shadows.
Step 2: How Do You Create a Custom T-Shirt Design Concept?
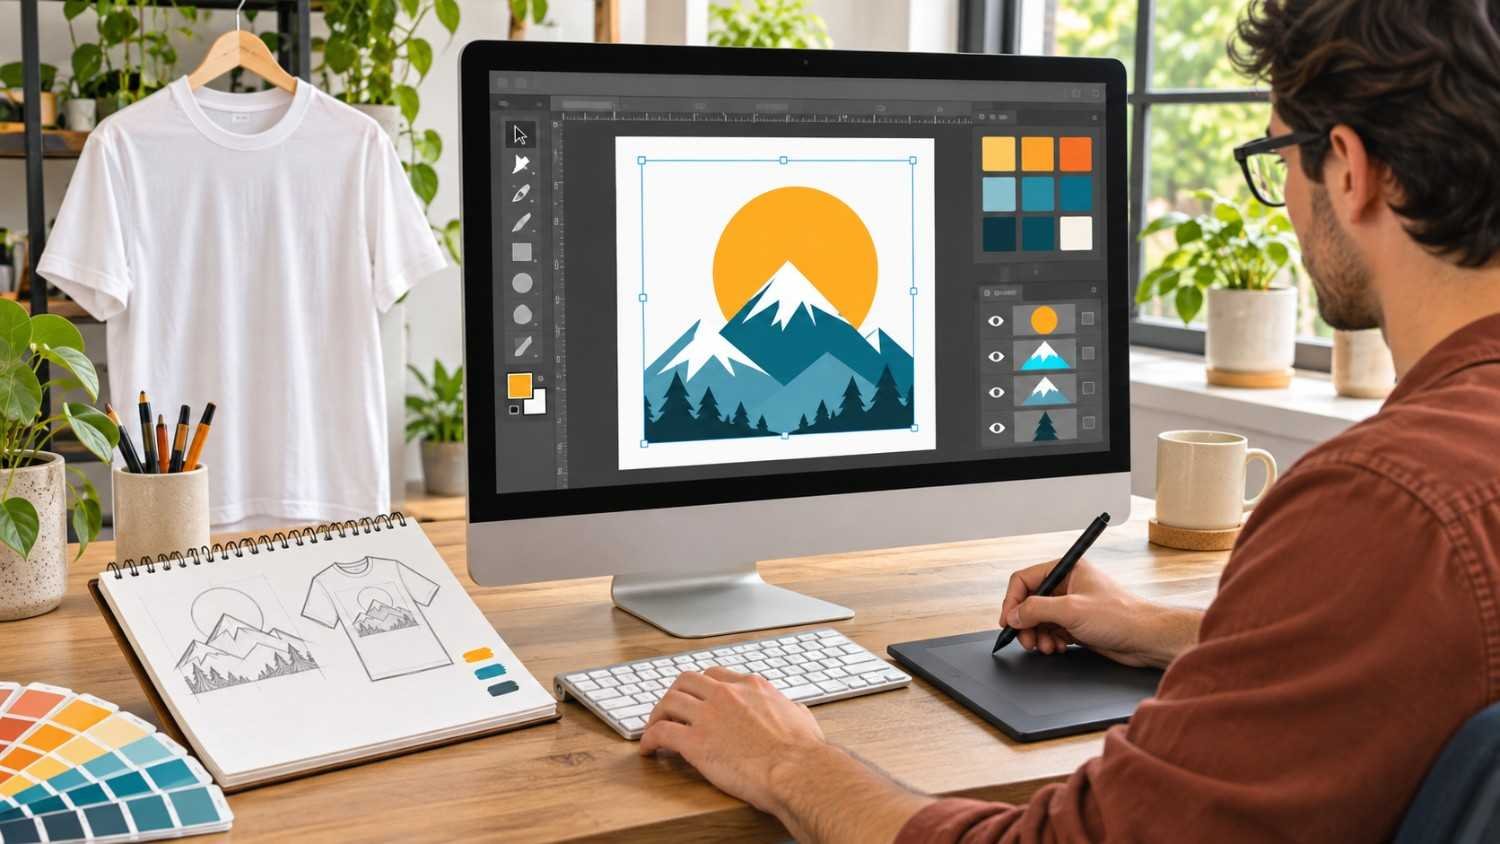
Before opening the drawing tools, decide what message your shirt should communicate.
For my example, I’ll create a retro outdoor graphic featuring mountains, a sunset, and the phrase “Explore More.”
Start with a simple sketch or import an existing illustration using File > Place.
I recommend organizing everything in the Layers panel. Keep your background reference, vector graphics, and typography on separate layers.
This makes editing easier and prevents accidental changes to unrelated elements.
Step 3: How Do You Create Vector Graphics in Illustrator?
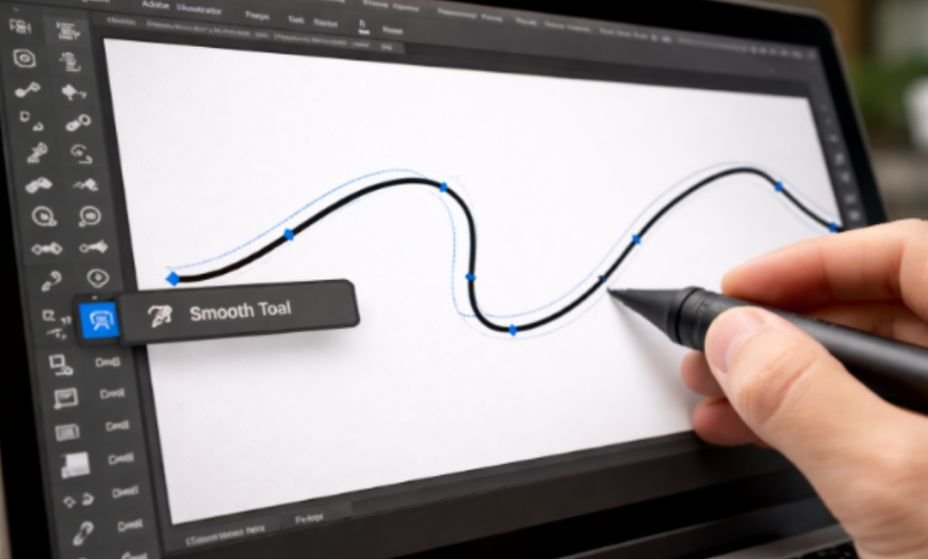
Use the Pen Tool (P) to draw custom illustrations or the Ellipse and Rectangle tools to build geometric objects.
For my mountain design, I’ll create a circular sunset and several overlapping mountain silhouettes.
The Shape Builder Tool (Shift + M) helps combine or remove overlapping sections.
If you’re working with an existing PNG or JPEG illustration, select the image and open Window > Image Trace. Choose an appropriate tracing preset, adjust the settings, and select Expand to convert the result into editable paths.
Adobe’s T-shirt design tutorial provides additional guidance on building vector artwork.
Remember that Image Trace may require manual cleanup, especially with detailed photographs.
Step 4: How Do You Add Curved Text and Custom Typography?
Select the Type Tool (T) and enter your desired lettering.
For my design, I’ll use bold typography that complements the vintage mountain illustration.
To create circular text, draw an ellipse and select the Type on a Path Tool. Click the circle’s path and type your text.
For a retro arch, select your lettering and choose Object > Envelope Distort > Make with Warp.
Experiment with the Arc style until the lettering matches your composition.
I recommend avoiding extremely thin fonts because small details may become difficult to reproduce on fabric.
Step 5: How Do You Choose Colors and Organize Your Artwork?
Choose colors that complement both your design concept and the fabric.
For my retro illustration, I’ll use burnt orange, cream, and dark brown.
Open the Swatches panel to maintain consistent colors throughout the artwork.
Check how the design looks against white, black, and navy shirts.
Keep your artwork organized by separating text, graphics, and references into individual layers.
I also recommend limiting unnecessary gradients when preparing designs for traditional spot-color screen printing.
Step 6: How Do You Create a Realistic T-Shirt Mockup?
Import a T-shirt photograph or vector template using File > Place.
Position your grouped artwork over the chest area and adjust its scale.
For a more realistic preview, select the vector design and shirt image, then open Window > Mockup and choose Create Mockup in supported Illustrator versions.
This feature helps the graphic follow the garment’s contours and folds.
I find mockups particularly useful when presenting apparel designs to clients or preparing product listings for US online stores.
Step 7: How Do You Prepare Illustrator Artwork for Printing?
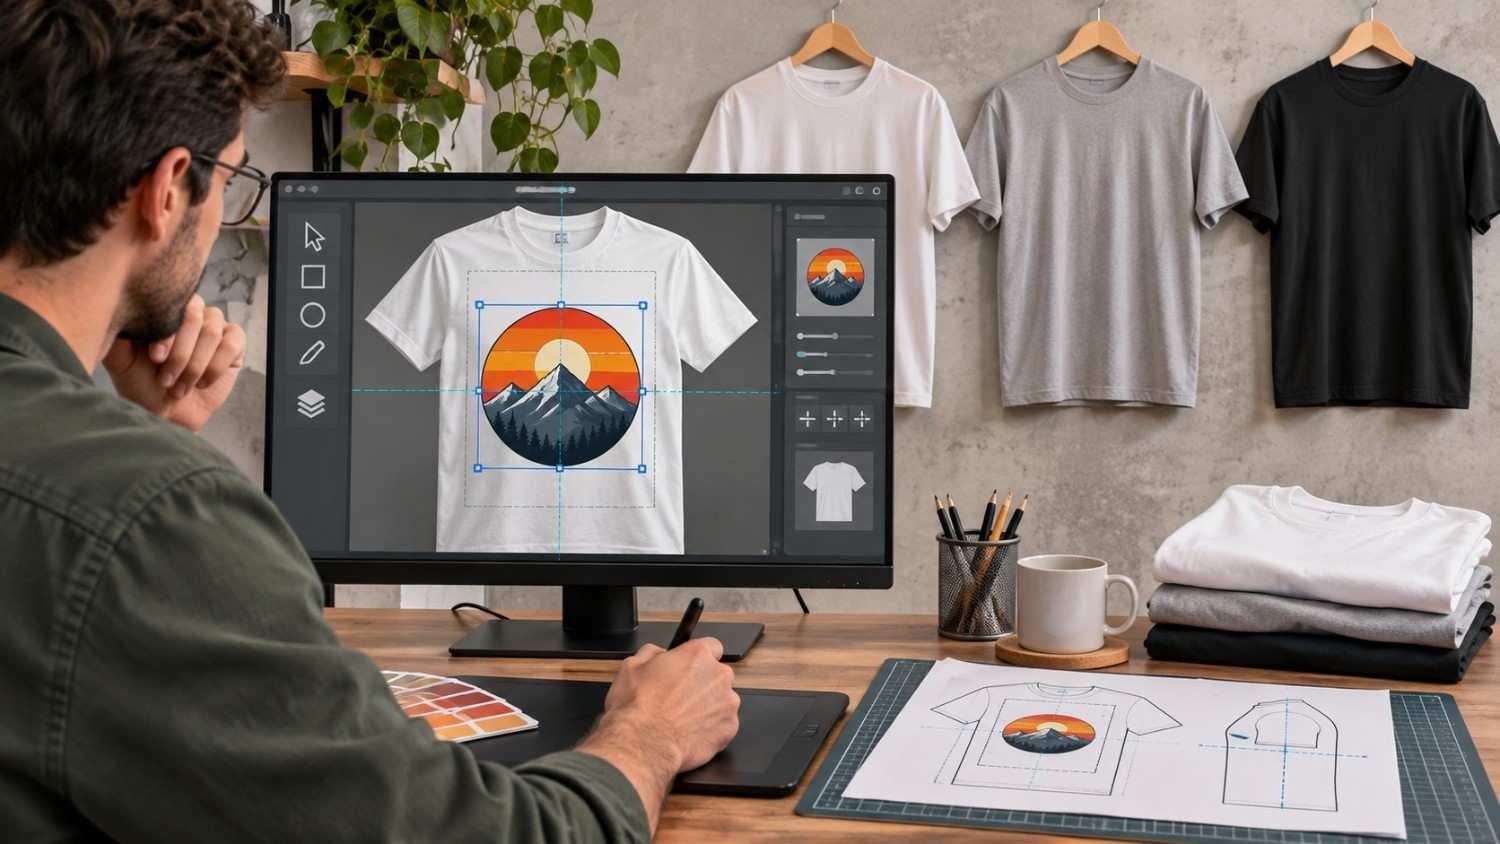
Save an editable AI copy before preparing the production artwork.
If your printer requires outlined lettering, select the text and press Ctrl + Shift + O on Windows or Command + Shift + O on Mac.
This converts editable fonts into vector shapes.
For strokes that must become filled objects, use Object > Path > Outline Stroke or the appropriate Object > Expand option.
Open Window > Pathfinder and use Unite or Merge where necessary to simplify overlapping artwork. Avoid merging elements that need separate colors.
These techniques help create predictable production files, although not every printing provider requires expanded artwork.
Step 8: How Do You Export a Print-Ready T-Shirt Design?
Select File > Save As and preserve your original Illustrator AI file.
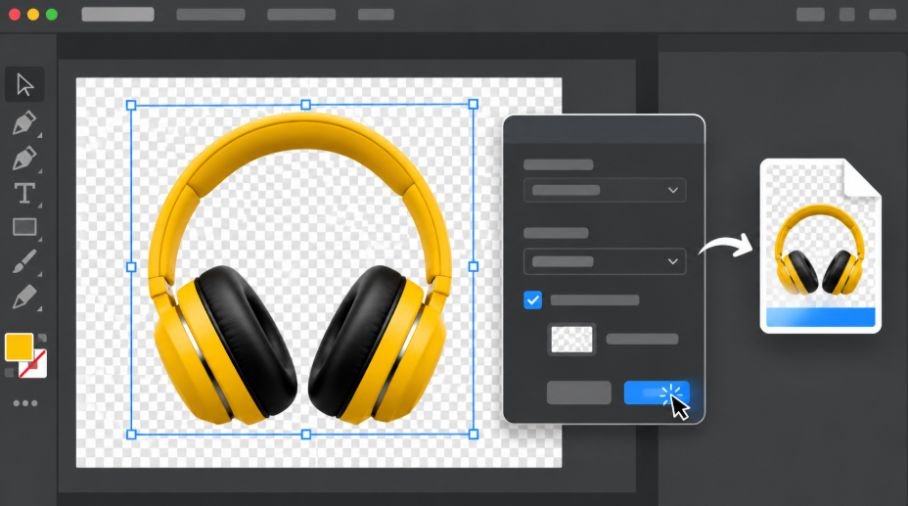
For print-on-demand services requesting raster artwork, navigate to File > Export > Export As and choose PNG.
Enable a transparent background and export at the provider’s required pixel dimensions, commonly using 300 PPI for detailed designs.
A 12 × 12-inch graphic exported at 300 PPI measures 3,600 × 3,600 pixels.
For traditional printing workflows, your provider may request AI, EPS, or PDF files instead.
Always confirm the required format before submitting your artwork.
What Is the Best T-Shirt Design Size in Illustrator?
The best dimensions depend on the shirt size, artwork placement, and printing method.
| Design placement | Suggested starting size |
| Small chest logo | 3 × 3 inches |
| Standard front design | 12 × 12 inches |
| Large front graphic | 12 × 16 inches |
| Oversized artwork | 16 × 20 inches |
These dimensions are starting points, not guaranteed printable areas. Your printer’s garment template should determine the final size.
Should You Use RGB or CMYK for T-Shirt Printing?
I recommend choosing the color mode based on your printing provider.
Many DTG platforms request sRGB artwork, while some commercial screen-printing workflows require CMYK or spot-color separations.
For example, Printful recommends sRGB for its print files.
Always verify the color requirements of services such as Amazon Merch on Demand or Redbubble individually rather than assuming every platform uses the same settings.
What Common T-Shirt Design Mistakes Should You Avoid?
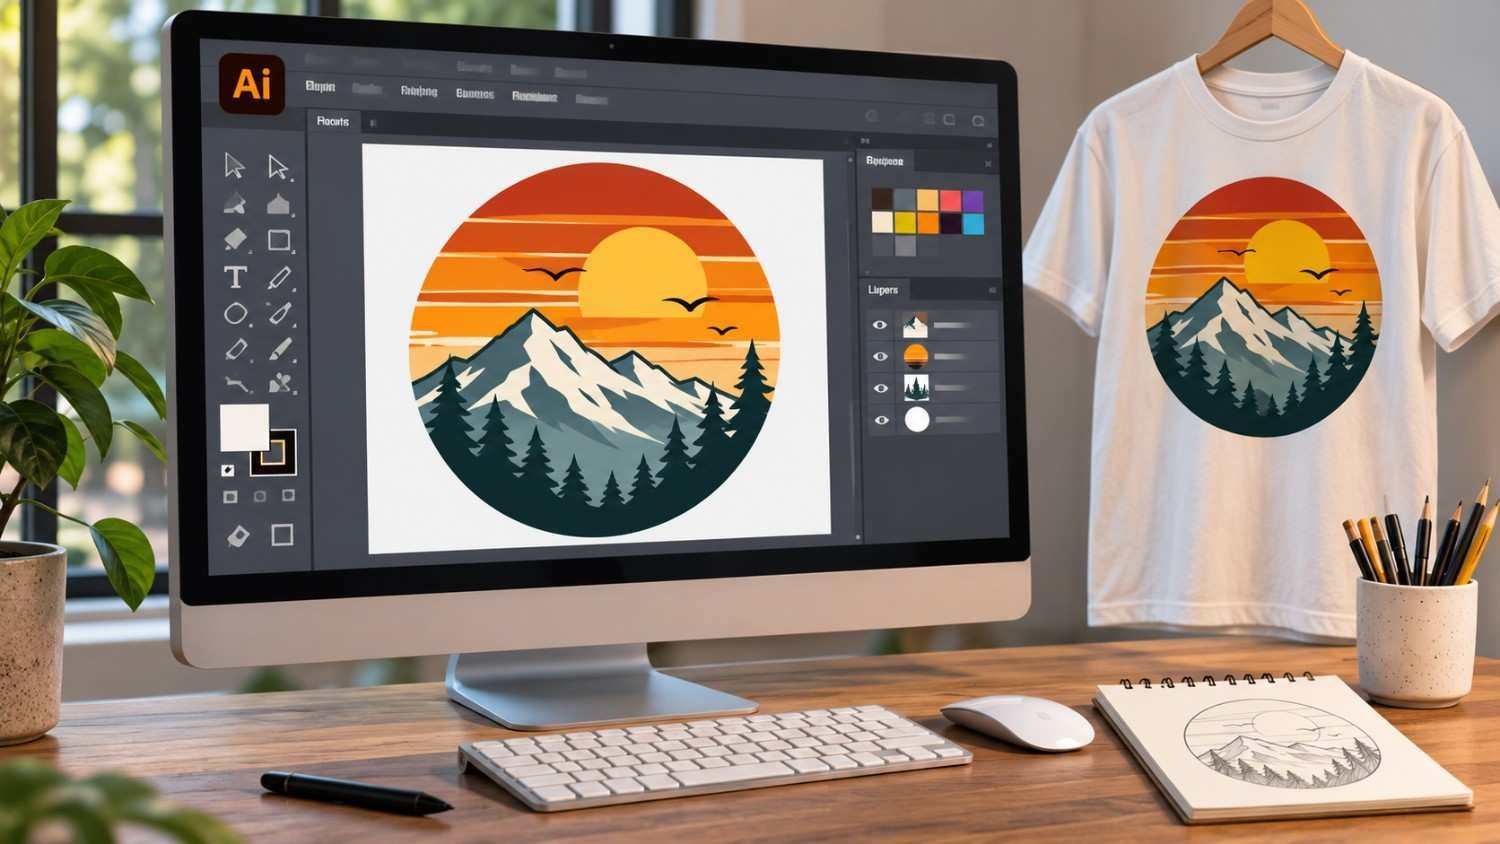
One common mistake is using blurry raster images that lose detail when enlarged.
Another is overlooking transparent backgrounds, which can produce unwanted rectangular areas during printing.
I also recommend avoiding tiny text, insufficient color contrast, and overly complicated paths.
Finally, always preview your artwork at its actual printing size before placing an order.
Frequently Asked Questions (FAQs)
1. Can Beginners Design Professional T-Shirts in Illustrator?
Yes. Beginners can create attractive apparel graphics using basic shapes, vector tools, typography, and simple color combinations.
2. What File Format Is Best for T-Shirt Printing?
Transparent PNG files work well for many DTG and DTF workflows, while AI, EPS, and PDF formats are useful when printers request vector artwork.
3. How Do You Make a T-Shirt Design Background Transparent?
Remove unwanted background objects, select File > Export > Export As, choose PNG, and enable the transparent background option during export.
4. Is Illustrator Better Than Photoshop for T-Shirt Design?
Illustrator is generally better for scalable logos, lettering, and vector graphics. Photoshop is particularly useful for photographic compositions, complex raster textures, and image editing.
Final Thoughts
Learning how to make a T-shirt design in Illustrator becomes easier when you understand vector drawing, custom typography, artwork preparation, and exporting.
I recommend beginning with simple designs, organizing your layers, and testing artwork on realistic mockups before printing. You can also use image trace in Illustrator to convert sketches, illustrations, or raster images into scalable vector graphics suitable for T-shirt printing.
Whether you’re creating personalized merchandise or establishing a US-based apparel brand, Illustrator provides the flexibility to turn original ideas into professional, print-ready T-shirt graphics.