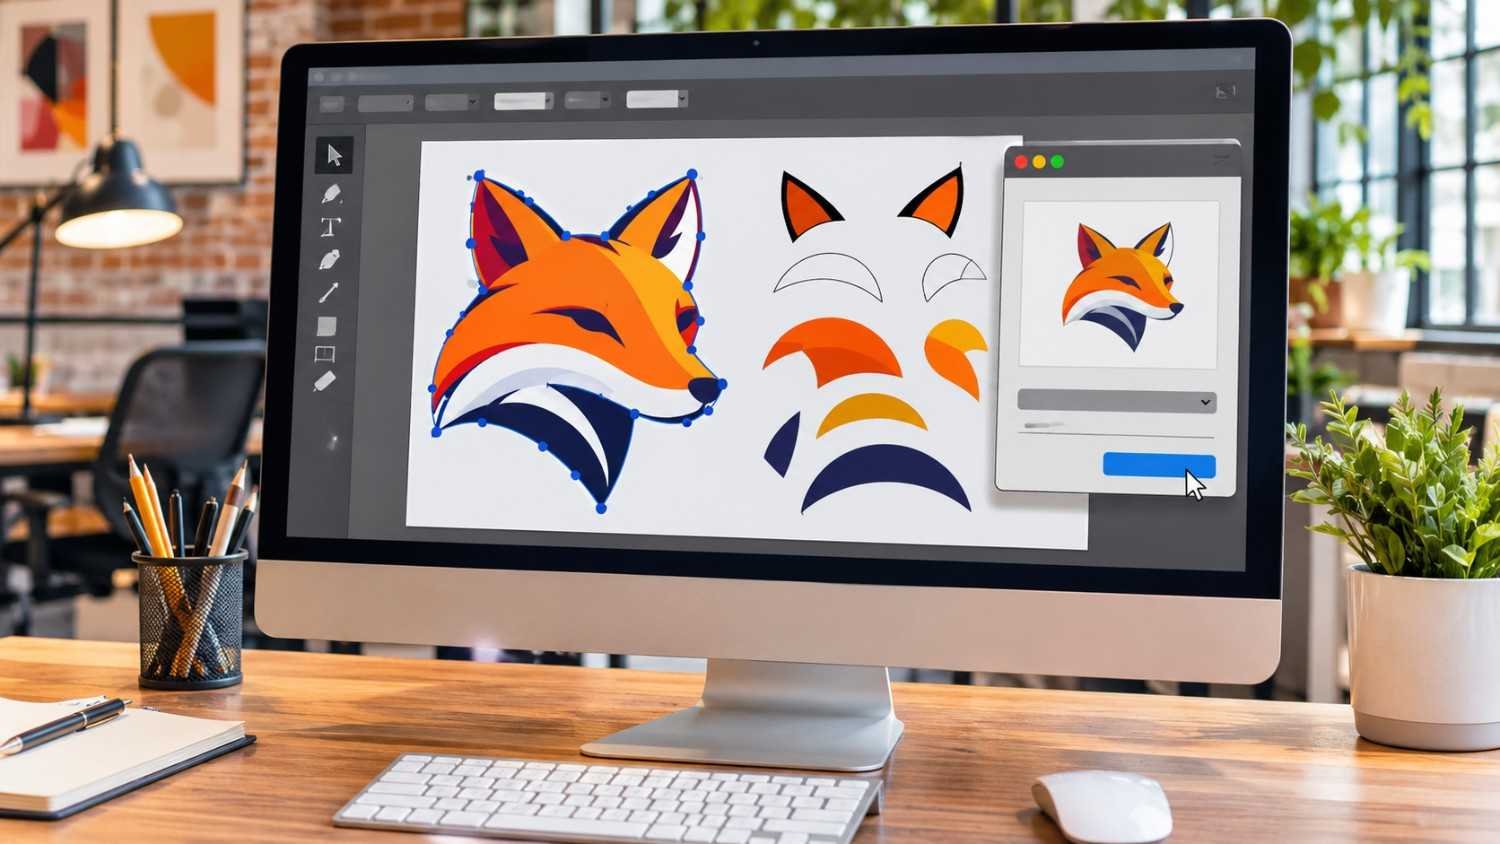
Learning how to use Image Trace in Illustrator can help you turn ordinary JPGs, PNGs, and scanned drawings into sharp, scalable vector graphics. Simply import your image, open Image Trace, choose a preset, adjust the settings, and expand the result into editable vector paths.
When I started exploring Adobe Illustrator, I discovered that Image Trace could save considerable time when creating logos, illustrations, and marketing graphics. However, getting clean results requires more than clicking one button.
In this guide, I’ll explain the complete process, recommended Image Trace settings, background removal, and how to export professional SVG files.
What Is Image Trace in Adobe Illustrator?
Image Trace is an Illustrator feature that converts raster images into vector artwork using automatically generated shapes, paths, and colors.
Raster files, including JPGs and PNGs, contain pixels that can become blurry when enlarged. Vector graphics use mathematical paths that maintain their sharpness at different sizes.
For example, a US small business might need its logo on business cards, T-shirts, storefront signs, and promotional banners. Vector artwork makes these applications easier without sacrificing sharpness.
I recommend Image Trace for simple logos, sketches, illustrations, icons, and high-contrast graphics.
How to Use Image Trace in Illustrator Step by Step
The following eight steps explain how to convert a raster image into editable vector artwork using Adobe Illustrator, allowing you to refine shapes, adjust colors, and curve text in Adobe Illustrator for more creative designs.
Step 1: Import Your JPG or PNG Image
Open Illustrator and create a document using File > New.
Navigate to File > Place and select your JPG, PNG, or scanned artwork.
You can also use the keyboard shortcut Shift + Ctrl + P on Windows or Shift + Cmd + P on Mac.
Click the artboard to position your image and resize it if necessary.
I recommend choosing a high-resolution image with clear outlines and minimal background distractions.
Step 2: Select Your Image
Choose the Selection Tool from the toolbar or press V.
Click your imported image to select it.
Make sure you’ve selected the raster image rather than an empty artboard or unrelated object.
Step 3: Open the Image Trace Panel
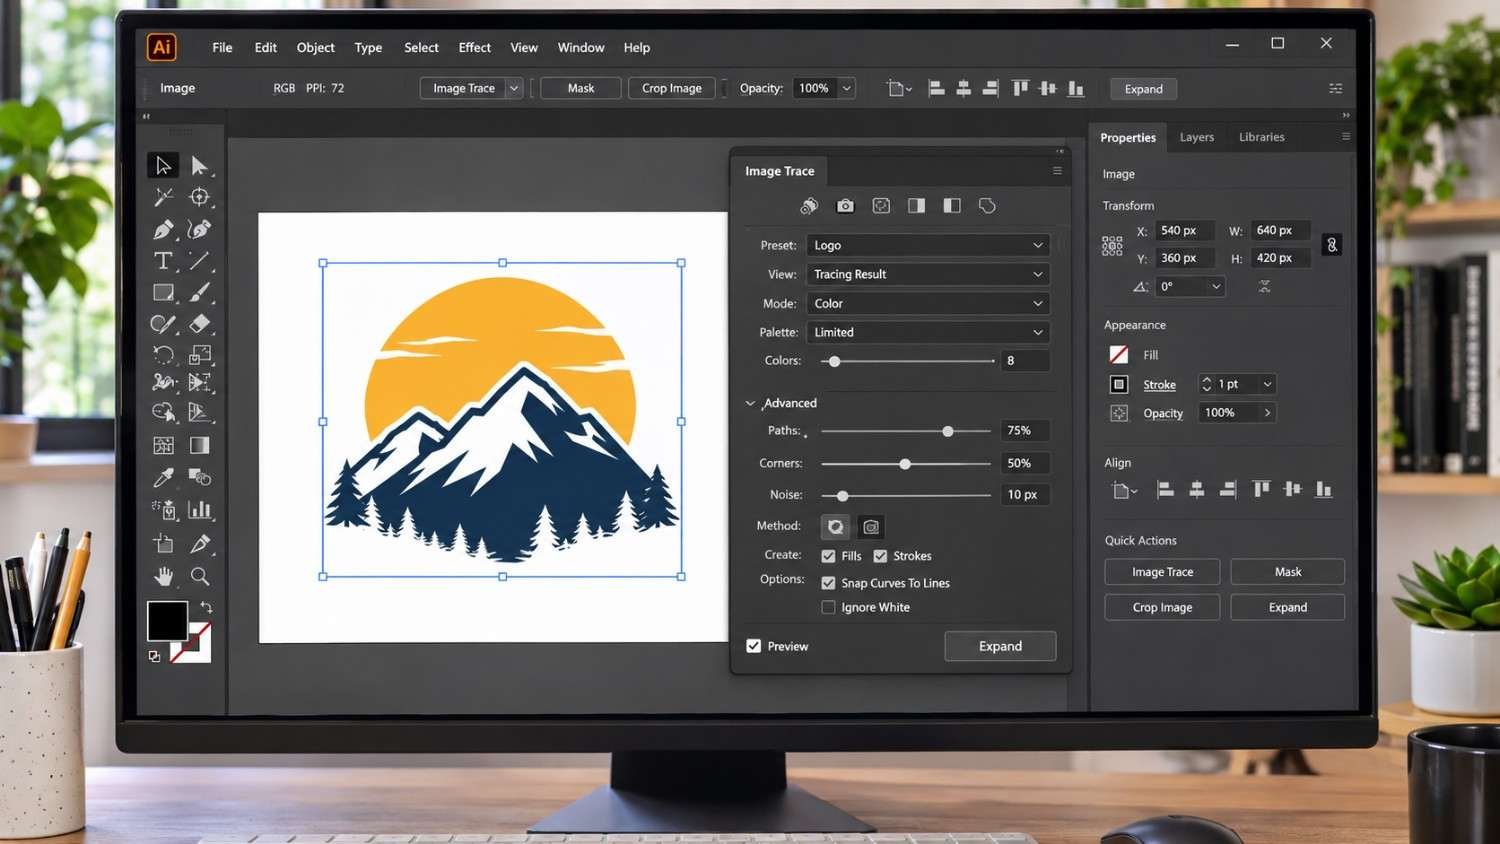
Navigate to Window > Image Trace to access the complete tracing controls.
You can also start Image Trace through the Properties panel, top control bar, or Contextual Task Bar, depending on your Illustrator version.
I prefer the full panel because it provides additional settings for adjusting vector quality.
Step 4: Choose an Image Trace Preset
Open the Preset dropdown menu and select an option matching your artwork.
Black and White works well for monochrome logos, while color presets suit illustrations and photographs.
Depending on your Illustrator version, you may see options such as Sketches, 16 Colors, High Color, or Auto-Color.
Adobe also provides Enhanced and Legacy Presets, with different capabilities for transparency, gradients, and artwork recognition.
Step 5: Enable Preview and Adjust Advanced Settings
Enable Preview in the Image Trace panel, if available and not already active, to see how your adjustments affect the artwork.
Next, expand the advanced settings.
Mode: Choose Color, Grayscale, or Black and White based on your desired appearance.
Threshold: In Black and White mode, increase the value to include more pixels as black or decrease it for fewer black regions.
Colors: Adjust the color count in applicable tracing modes to simplify or preserve the original palette.
Paths: Higher values follow original contours more closely, while lower values generally create smoother, simpler shapes.
Corners: Increase the setting to emphasize sharper corners or reduce it for softer contours.
Noise: Higher values help Illustrator ignore smaller pixel clusters, reducing unwanted speckles.
I suggest modifying one setting at a time to maintain control over your results.
For detailed explanations, consult Adobe’s Image Trace panel options.
Step 6: Remove the White Background
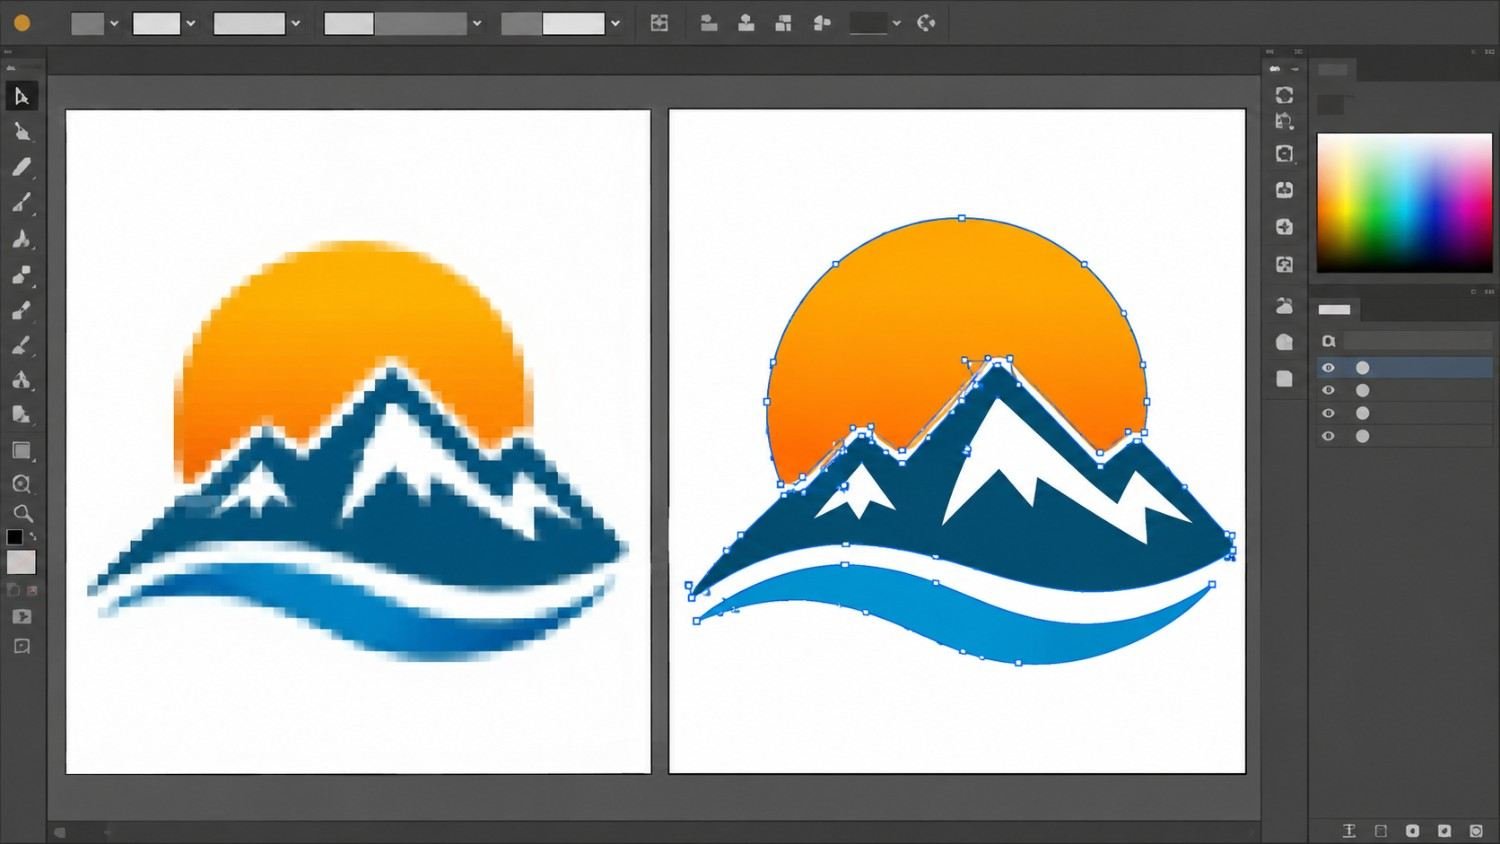
If your image contains an unwanted white background, look for Ignore White or Ignore Color options, depending on the Illustrator version.
These settings can exclude selected background colors from the traced artwork.
Some Enhanced Presets also provide transparency-related controls.
If unwanted background shapes remain, you can remove them manually after expanding and ungrouping the artwork.
Step 7: Expand and Ungroup the Vector Artwork
Once the tracing preview looks satisfactory, click Expand from the available Illustrator controls.
This converts the live tracing result into editable vector paths.
Right-click the artwork and select Ungroup, or choose Object > Ungroup, to separate individual elements.
You can now use the Direct Selection Tool to modify anchor points, change colors, and reshape objects.
I recommend duplicating the live trace before expanding because expanding removes its editable tracing settings.
Step 8: Save and Export Your SVG File
Once you’ve finished editing, select File > Save As and save an Adobe Illustrator (.AI) copy.
Next, choose File > Export > Export As and select SVG.
Review the SVG export settings and save the file.
SVG files are useful for website graphics, digital illustrations, scalable logos, and compatible cutting-machine workflows.
What Are the Best Image Trace Settings for Logos and Photos?
Different images require different presets and adjustments.
| Image type | Recommended preset | Important setting |
| Simple logo | Black and White | Threshold |
| Pencil sketch | Sketched Art or Black and White | Noise |
| Color illustration | Limited-color preset | Colors |
| Detailed photograph | High Color | Paths and Colors |
| Basic icon | Black and White | Corners |
For logos, I prioritize smooth outlines and fewer unnecessary anchor points. For photographs, preserving colors and recognizable details becomes more important.
How Do You Fix Image Trace Problems in Illustrator?
Why Is Image Trace Grayed Out?
Image Trace may be unavailable when you haven’t selected a supported raster image. Check the selection and isolate the image if it’s inside a group or clipping mask.
Why Does My Traced Image Look Jagged?
Low-resolution artwork, compression artifacts, and overly detailed tracing settings can create irregular edges.
Try adjusting Paths and Noise or replacing the source with a cleaner image.
How Do You Reduce Excessive Anchor Points?
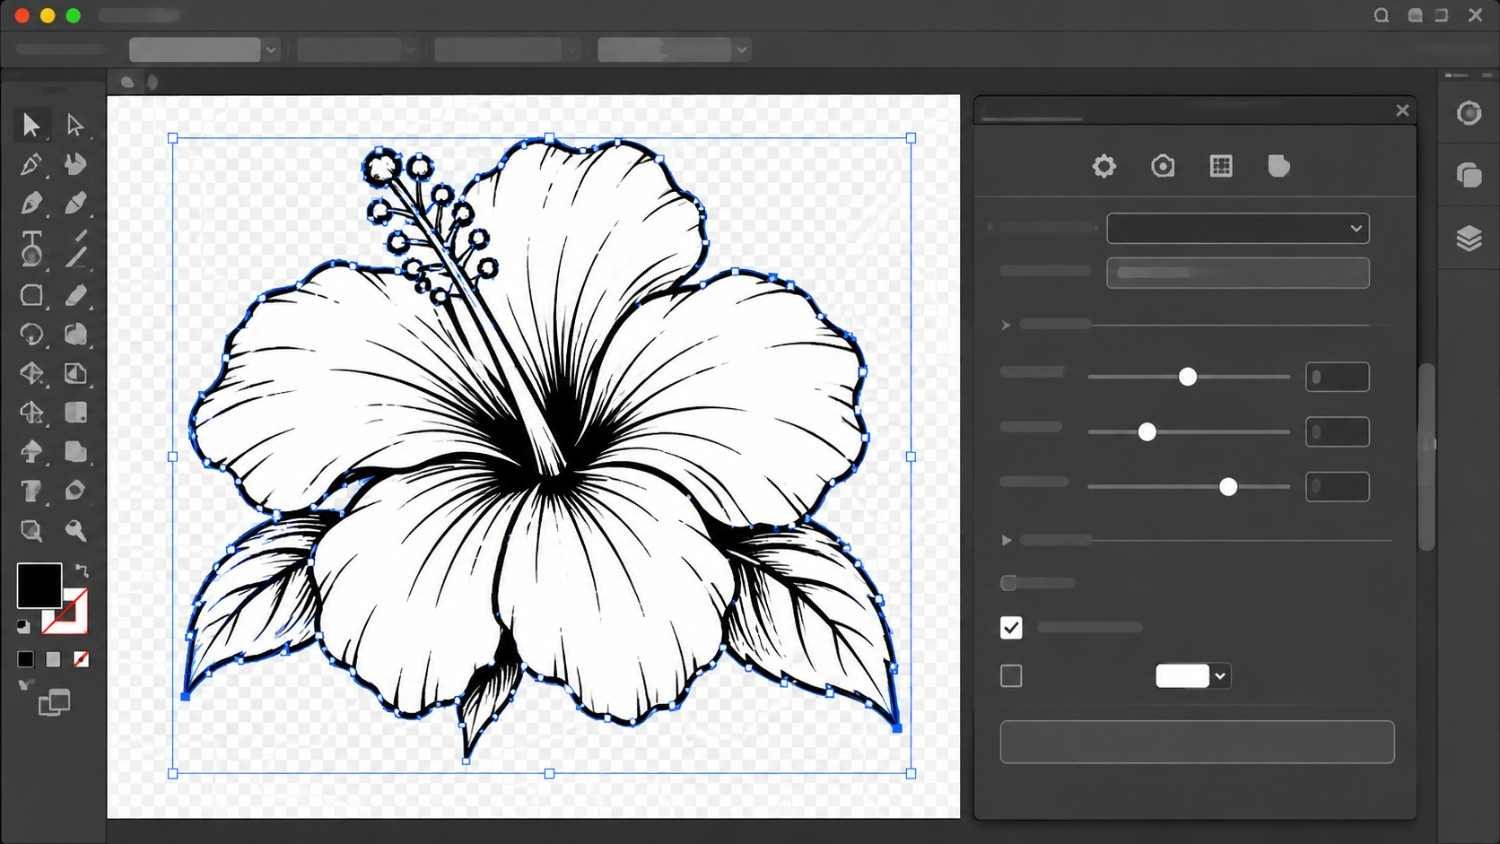
Select the expanded artwork and navigate to Object > Path > Simplify.
This tool reduces unnecessary anchor points while helping preserve the overall shape.
You can also use Recolor Artwork to modify colors without editing every shape separately.
Frequently Asked Questions (FAQs)
1. Can I Use Image Trace on a PNG in Illustrator?
Yes. Import the PNG, select Image Trace, choose an appropriate preset, and adjust the settings. Expand the trace to create editable vector paths.
2. How Do I Convert a JPG to SVG in Illustrator?
Place the JPG, apply Image Trace, adjust the results, and select Expand. Then export the finished artwork using File > Export > Export As > SVG.
3. What Is the Best Image Trace Setting for a Logo?
Black and White is a good starting point for simple monochrome logos. For colorful logos, use an appropriate limited-color preset and refine the resulting paths.
4. Can Image Trace Remove a White Background?
Yes. Compatible tracing modes offer options such as Ignore White or Ignore Color. You can also delete unwanted background objects after expanding the artwork.
Final Thoughts
Understanding how to use image trace in Illustrator makes converting raster images into editable vector graphics much easier.
I recommend starting with simple logos or line drawings before tracing detailed photographs. Experiment with presets, fine-tune the advanced settings, and inspect your paths before exporting.
With practice, you can create cleaner vector graphics for websites, branded merchandise, signage, and other professional design projects.