Learning how to vectorize an image in Illustrator is easier than you might think, especially with Adobe Illustrator’s built-in Image Trace tool. It converts pixel-based images, including JPGs and PNGs, into scalable vector paths that you can resize, recolor, and edit without traditional pixelation.
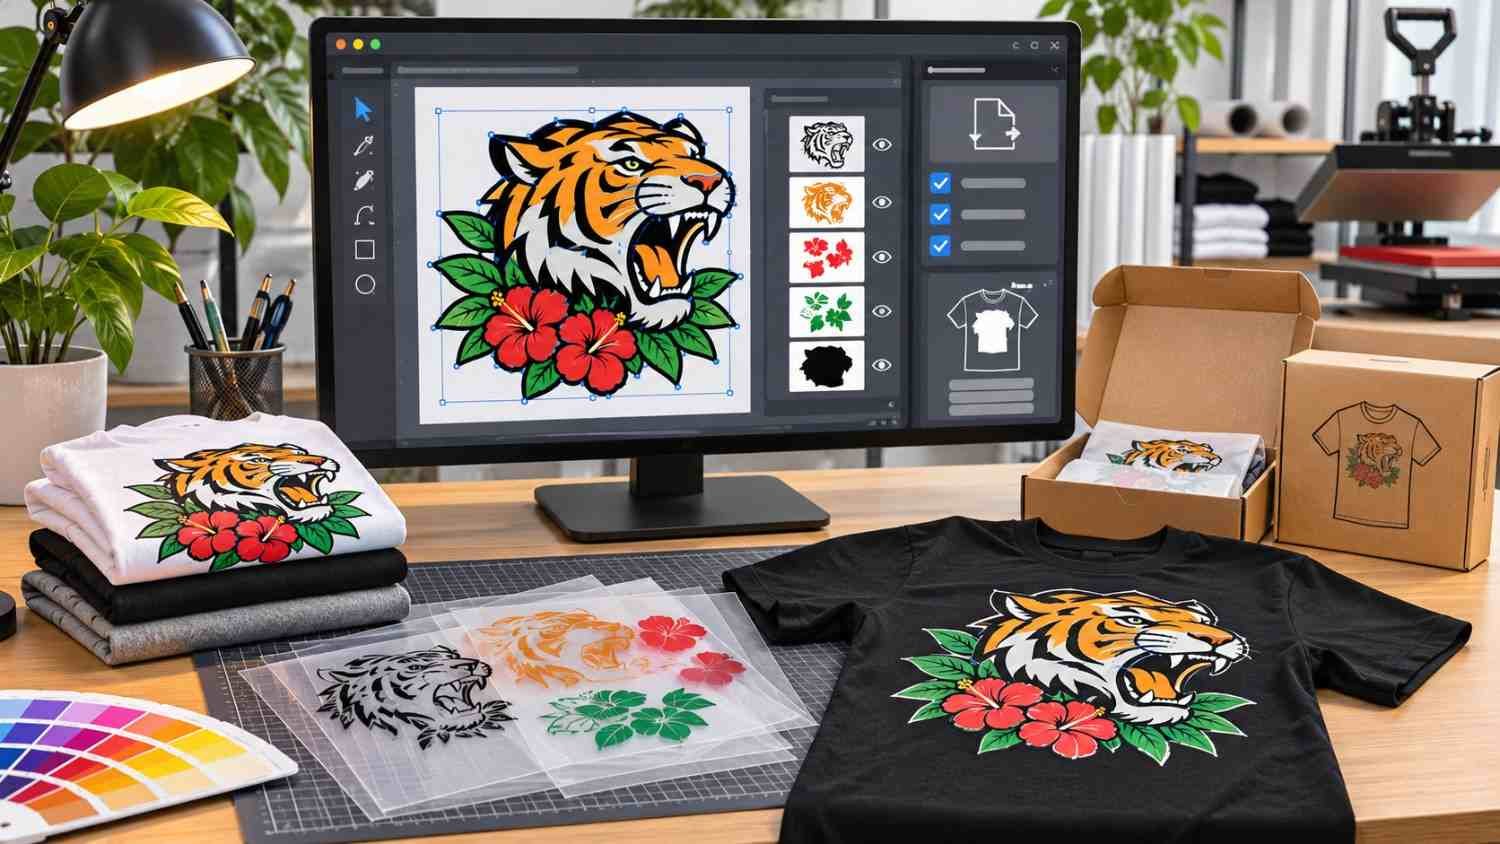
Whether you’re preparing a business logo, designing custom T-shirts, or creating graphics for a website, vectorization can make your artwork more versatile. I recommend starting with Image Trace because it automates much of the conversion process, although some images require additional cleanup.
In this guide, I’ll explain how to convert raster images into vectors, adjust Image Trace settings, remove unwanted backgrounds, and export professional SVG files.
What Does It Mean to Vectorize an Image in Illustrator?
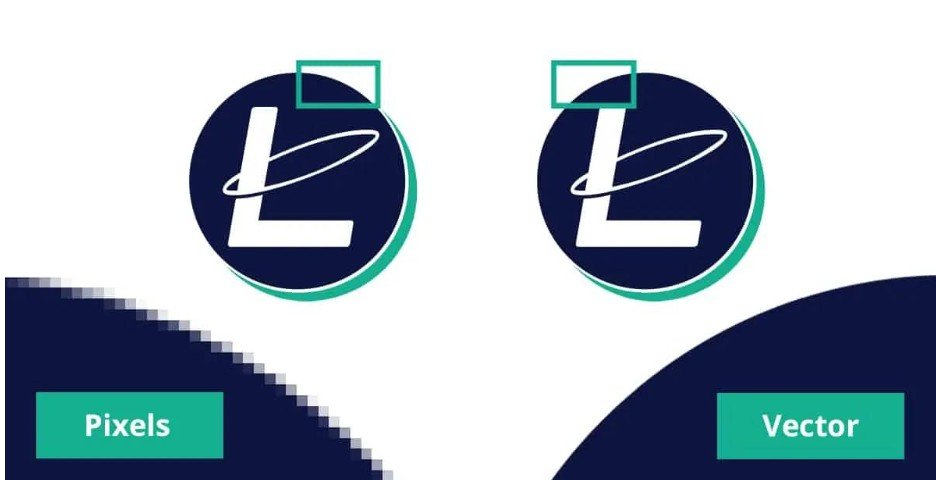
Vectorization converts raster graphics made of pixels into artwork defined by mathematical paths, curves, and anchor points.
A JPG or PNG can lose sharpness when enlarged beyond its original resolution. Vector graphics remain mathematically scalable, making them suitable for everything from website icons to large storefront signs.
For example, a small restaurant logo might appear clear on a business card but become blurry when printed on a banner. Converting the logo into vector artwork allows designers to resize its paths without introducing pixelation.
However, converting an image doesn’t automatically restore missing details. A low-quality original may still produce uneven vector shapes.
How to Vectorize an Image in Illustrator Using Image Trace
If you’re wondering how to vectorize an image in Illustrator without manually drawing every shape, Image Trace offers a practical solution.
Follow these seven steps to create editable vector artwork.
Step 1: Place Your JPG or PNG Image in Illustrator
Open Adobe Illustrator and create a document through File > New. Choose a suitable document size based on your project.
Before placing your image, make sure the artboard dimensions suit your intended output. If you need to adjust the working area later, learning how to resize an artboard in Illustrator can help you accommodate different design dimensions without unnecessarily changing the artwork itself.
Next, select File > Place, locate your JPEG or PNG file, and click or drag on the artboard to position it.
Use the Selection Tool (V) to select the image.
I recommend starting with a high-resolution source that contains clear edges and strong contrast. Simple illustrations and logos usually produce better tracing results than detailed photographs.
Step 2: Run Image Trace Using the Toolbar or Menu
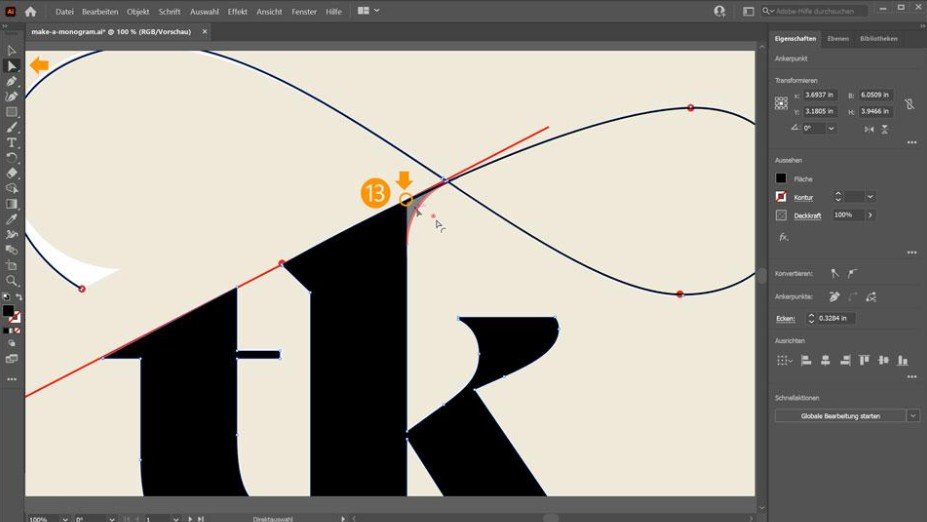
With the image selected, locate Image Trace in the Contextual Task Bar near the artwork or inside the Properties panel.
If you’re new to this feature, exploring how to use Image Trace in Illustrator can help you understand its tracing presets, adjustment options, and techniques for converting raster images into editable vector artwork.
Alternatively, select Object > Image Trace > Make to begin tracing with default settings.
Depending on your Illustrator version and current preset, the image may initially appear in black and white.
Don’t worry if the original colors disappear. You can restore a color-based tracing result by changing the settings in the Image Trace panel.
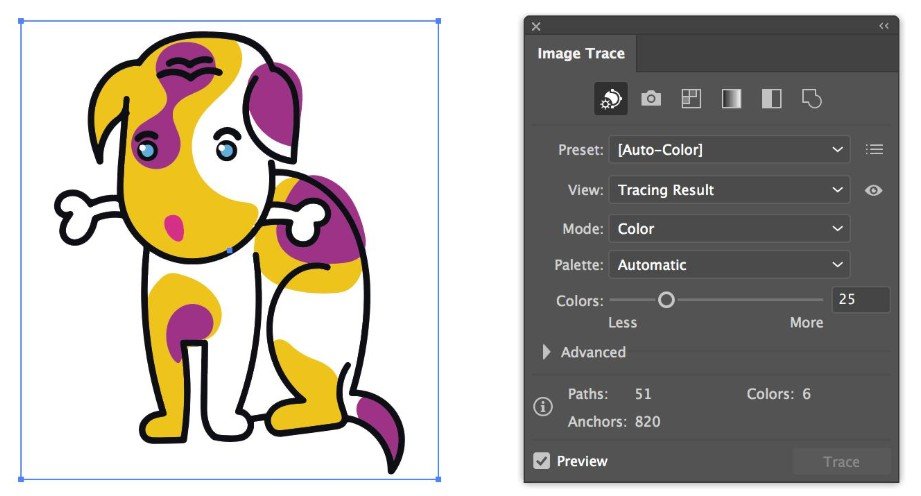
Step 3: Open the Image Trace Panel and Choose a Preset
Navigate to Window > Image Trace to access detailed controls.
Enable Preview, if available in your version, to examine the results as you modify settings.
Choose Black and White, Grayscale, or Color from the Mode options, depending on your artwork.
For photographs, High Fidelity Photo can preserve more visual detail, although it may create complex artwork. For logos and illustrations, limited-color presets such as 3 Colors, 6 Colors, or 16 Colors can simplify the results. Line Art is useful for suitable drawings and outlines.
Preset names and availability may differ between Illustrator releases.
Step 4: Fine-Tune Image Trace Settings for Cleaner Results
Expand the Advanced section inside the Image Trace panel.
The Paths setting determines how closely the traced shapes follow the original pixels. Higher values generally increase accuracy but may produce additional anchor points.
Corners controls the emphasis on sharp angles. Increasing it can help preserve geometric details.
Noise determines the minimum detail size Illustrator considers during tracing. Lower values preserve smaller features, while higher values help eliminate tiny unwanted shapes.
For black-and-white tracing, adjust Threshold to control which areas become dark or light. For color tracing, adjust Colors to manage the complexity of the artwork.
I suggest making gradual adjustments and inspecting the result before committing to the final trace.
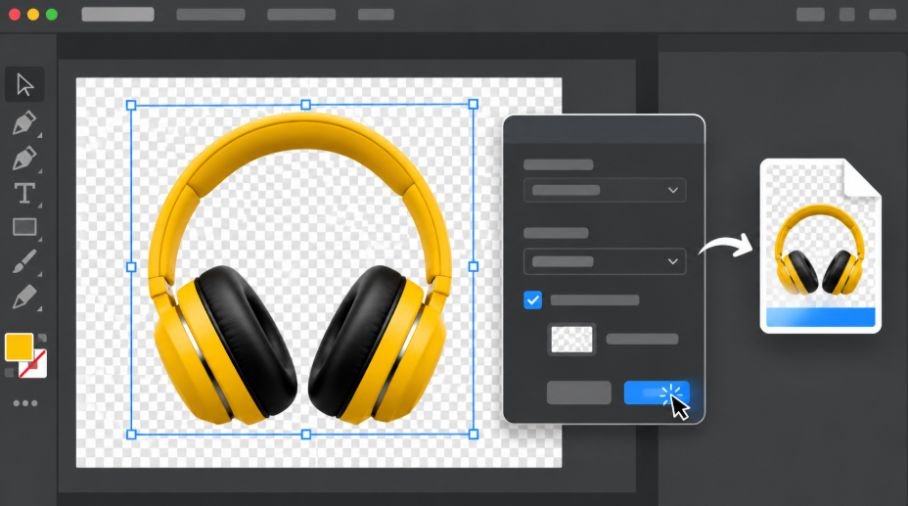
Step 5: Remove the White Background
If your image contains an unwanted white background, look for Ignore Color or Ignore White in the advanced tracing options, depending on your Illustrator version.
Configure the setting to exclude the background color from the traced artwork.
This is particularly helpful when converting logos for websites, stickers, and merchandise.
Be careful when removing white because the image may contain legitimate white design elements that you want to preserve.
Step 6: Expand and Ungroup the Vector Artwork
Once you’re satisfied with the tracing preview, select Expand from the Properties panel, top toolbar, or Image Trace panel, where available.
You can also use Object > Image Trace > Expand.
This converts the tracing result into editable vector paths.
Next, right-click the artwork and select Ungroup, or navigate to Object > Ungroup.
On Windows, use Ctrl + Shift + G. On Mac, use Command + Shift + G.
Now you can select individual shapes using the Direct Selection Tool (A), adjust anchor points, recolor elements, and remove unwanted details.
Step 7: Clean Up the Paths and Export Your Vector File
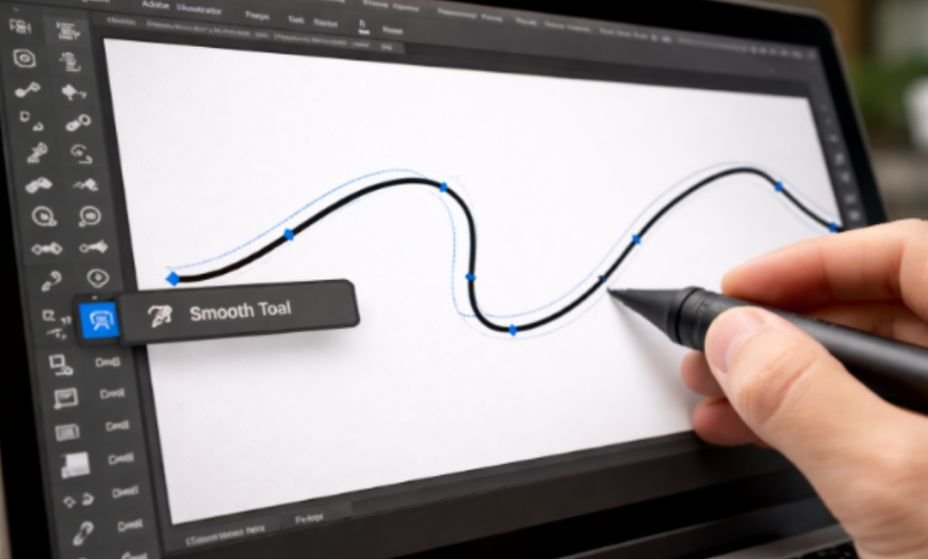
Automatic tracing can create jagged edges or excessive anchor points.
Select the vector artwork and navigate to Object > Path > Simplify to reduce unnecessary points while preserving the overall shape.
You can also use the Smooth Tool to refine irregular curves.
Once the artwork looks clean, save the editable project using File > Save As and choose Adobe Illustrator (.AI).
For a scalable web graphic, select File > Export > Export As and choose SVG. Review the SVG export options before saving.
You can also use EPS or PDF when required by a printing provider.
How Do You Vectorize a Logo, Photograph, or Drawing?
The ideal conversion method depends on your source image.
How to Vectorize a Logo in Illustrator
For simple company logos, I recommend beginning with a black-and-white or limited-color preset.
A clean source image helps preserve recognizable shapes. However, logos containing precise typography, circles, or geometric designs may require manual reconstruction for professional accuracy.
How to Convert a Photo Into Vector Art
Photographs contain gradients, shadows, and complicated textures.
High-fidelity photo tracing can reproduce substantial detail, but it may generate thousands of paths and large files.
For illustrations or poster-style graphics, reducing the number of colors often creates a cleaner result.
How to Vectorize a Hand-Drawn Sketch
Scan or photograph your drawing under even lighting and improve its contrast before importing it.
I recommend trying a monochrome or Line Art preset to preserve the outlines while minimizing background distractions.
When Should You Use the Pen Tool Instead of Image Trace?
Image Trace works well for quick conversions, but the Pen Tool (P) provides greater precision.
If you want more control over manually creating vector shapes, learning how to use the Pen Tool in Illustrator can help you work with anchor points, Bézier curves, and precise paths for cleaner, more professional artwork.
For a professional logo, I recommend placing the original image on a locked reference layer, reducing its opacity, and manually tracing important shapes on a new layer.
This method gives you direct control over Bézier curves, anchor points, and geometric accuracy.
Why Is Image Trace Not Working Properly?
If Image Trace appears grayed out, confirm that you’ve selected a raster image. Check whether the artwork is locked, and try embedding the image if necessary.
If the resulting vector looks rough, start with a clearer image and experiment with Paths, Corners, and Noise.
If your file becomes unusually large, reduce color complexity or simplify the expanded paths.
Remember that vectorizing a low-resolution photograph won’t automatically make it photorealistic at larger sizes.
Frequently Asked Questions
1. Can I Convert a PNG to a Vector in Illustrator?
Yes. Import your PNG, apply Image Trace, expand the result, and export the editable paths as SVG, AI, or another appropriate vector format.
2. How Do I Convert a JPG to SVG in Illustrator?
Place the JPG, trace it using Image Trace, select Expand, and export the converted artwork as SVG. Simply changing the filename extension doesn’t convert raster pixels into vector paths.
3. What Is the Fastest Way to Vectorize an Image in Illustrator?
Using Image Trace is generally the quickest approach. Select your image, apply a suitable preset, refine the settings, and expand the result into editable paths.
4. Is Image Trace Better Than the Pen Tool?
Image Trace is faster for automated conversion, while the Pen Tool offers more control over precise shapes, smooth curves, and professional logo reconstruction.
Final Thoughts
Mastering how to vectorize an image in Illustrator can make your design workflow more efficient, whether you’re creating logos, promotional graphics, or print-ready artwork.
I recommend using Image Trace for straightforward conversions and refining the resulting paths before exporting. When accuracy matters more than speed, manual tracing is often the better choice.
With the right settings, a clean source image, and proper SVG exporting, you can create flexible vector graphics for websites, branding, apparel, and other creative projects.