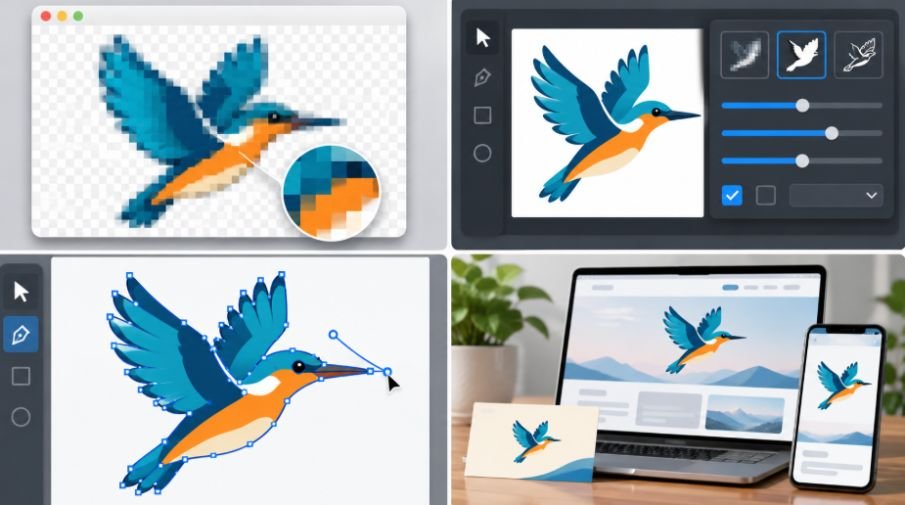
Learning to convert PNG to SVG in Illustrator is easier than you might think. You simply import your PNG image, use Adobe Illustrator’s Image Trace feature to vectorize it, expand the tracing into editable paths, and export the finished artwork as an SVG file.
I’ve found this technique especially helpful when creating logos, website icons, branding materials, and illustrations that need to look sharp at different sizes. However, saving a PNG directly as an SVG doesn’t automatically make it a true vector image.
In this guide, I’ll explain the complete process, including the best Image Trace settings, background removal, and tips for preserving image quality.
What Is the Difference Between PNG and SVG?
Before converting any image, I always check its format because PNG and SVG work differently.
PNG (Portable Network Graphics) is a raster format that stores images as pixels. It supports transparent backgrounds and works well for photographs, screenshots, and digital graphics. However, enlarging a low-resolution PNG can cause pixelation.
SVG (Scalable Vector Graphics) uses mathematical paths and shapes instead of relying solely on pixels. This allows vector artwork to scale without losing sharpness.
For example, a small business can use an SVG logo on its website, business cards, and promotional banners while maintaining clean edges.
The important distinction is that converting a PNG to vector in Illustrator requires tracing the original image into actual vector paths.
How to Convert PNG to SVG in Illustrator in 7 Easy Steps
I recommend starting with a high-resolution PNG containing clear shapes and minimal background details. Follow these steps to create an editable SVG.
Step 1: Open and Embed Your PNG in Illustrator
Open Adobe Illustrator and select File > Open to load your PNG.
Alternatively, you can drag and drop the image onto an active artboard or use File > Place to import it into an existing document.
Click the image using the Selection Tool (V).
If an Embed button appears in the Control panel or Properties panel, click it to store the image inside your Illustrator document rather than maintaining an external link.
Embedding is optional for Image Trace, but I prefer it when preparing self-contained project files.
Step 2: Open the Image Trace Panel
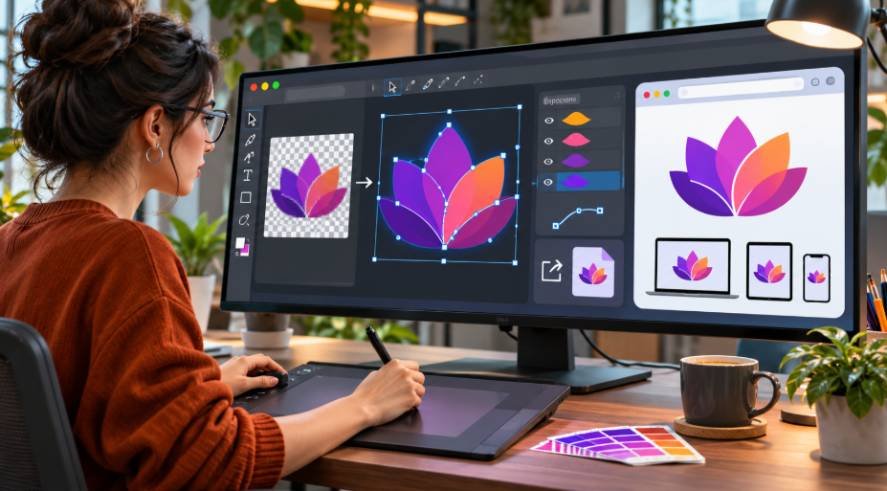
With your PNG selected, locate Image Trace in the Properties panel.
You can also navigate to Window > Image Trace to access additional controls.
Image Trace analyzes the raster artwork and creates vector shapes based on its colors, outlines, and contrast.
For a more detailed explanation of the available tracing options and workflow, explore how to use Image Trace in Illustrator to understand how different presets and settings can help convert raster images into editable vector artwork.
I recommend using the full Image Trace panel because it provides greater control over the final result.
Step 3: Choose the Best Image Trace Preset
Choosing the correct preset makes a noticeable difference in tracing quality.
For black-and-white logos, icons, or silhouettes, I typically start with the Black and White Logo preset.
For simple colored illustrations, I try limited-color presets such as 3 Colors or 6 Colors, when available.
For more detailed images, Low Fidelity Photo can provide a useful starting point, although complex artwork may require additional adjustments.
Illustrator’s preset names and enhanced tracing options vary between versions.
After selecting a preset, allow Illustrator to process the image and display the tracing preview.
Step 4: Adjust the Image Trace Settings
I rarely accept the initial tracing result without checking its details.
The Threshold setting controls which areas become black or white during monochrome tracing.
Paths determines how closely the traced artwork follows the original outlines, while Corners influences the sharpness of angles.
Noise helps eliminate tiny unwanted details. Increasing the minimum area can reduce small shapes and unnecessary paths.
For colored images, adjust the color-related controls to balance accuracy and simplicity.
My goal is to preserve recognizable shapes without generating excessive anchor points that make the SVG difficult to edit.
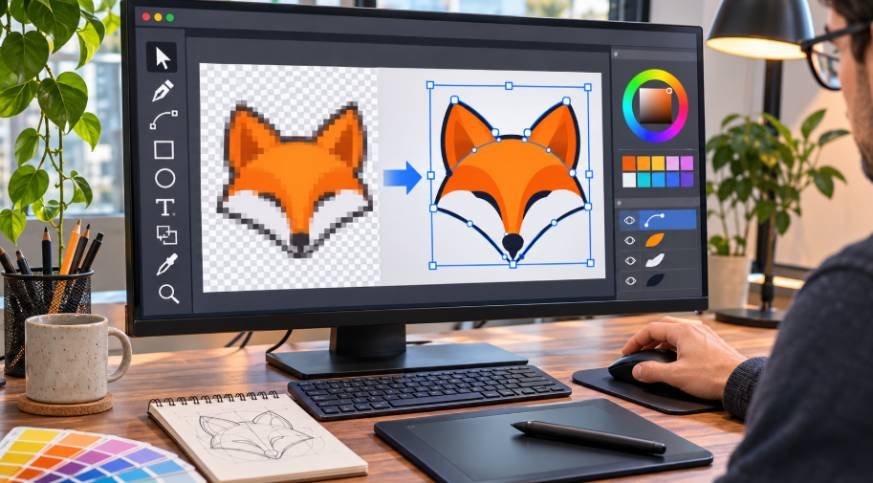
Step 5: Expand the Image Into Editable Vector Paths
Once you’re satisfied with the preview, select the traced artwork and click Expand in the Image Trace panel or the available contextual controls.
This converts the tracing result into grouped vector paths.
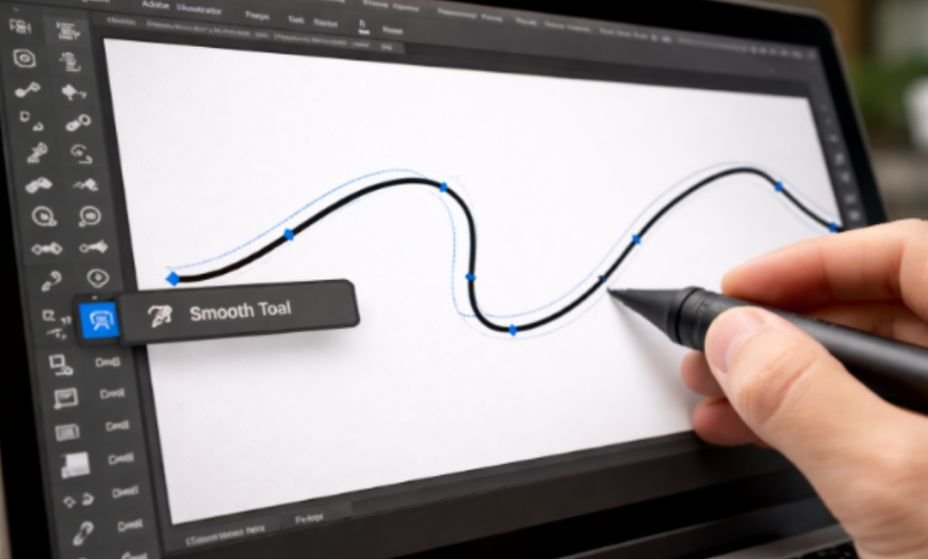
You can verify the conversion using the Direct Selection Tool (A). When you select individual shapes, Illustrator displays their path outlines and anchor points, typically in blue.
These editable shapes confirm that your artwork contains vector geometry.
Remember that after expanding, you can no longer modify the original Image Trace settings for that tracing result.
Step 6: Ungroup the Artwork and Remove Unwanted Backgrounds
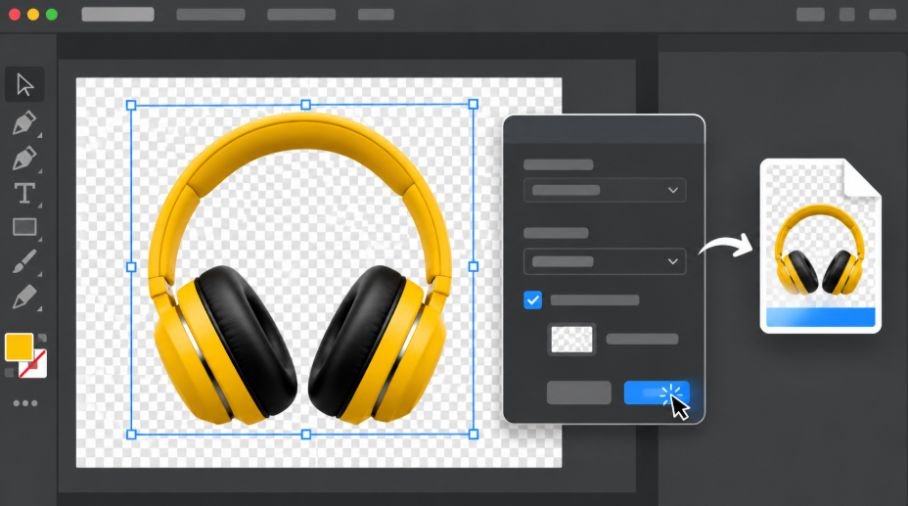
If your PNG contains a white or solid-colored background, Illustrator may include it in the traced artwork.
If you need to remove unwanted backgrounds before or after vectorizing an image, this guide on how to remove background in Adobe Illustrator explains several practical techniques, including Image Trace, clipping masks, and manual editing.
Right-click the expanded artwork and choose Ungroup. Depending on the design, you may need to ungroup additional nested objects.
Select the unwanted background shape and press Delete.
Alternatively, I sometimes use tracing options that exclude white areas before expanding, when those options are available.
For cleaner artwork, navigate to Object > Path > Simplify to reduce unnecessary anchor points.
Be careful not to remove important shapes, particularly when working with transparent PNG files or detailed logos.
Step 7: Export the Vector Artwork as an SVG File
Once the artwork looks correct, navigate to File > Export > Export As.
Enter your filename and select SVG (*.SVG) from the format menu. On Windows, this menu may appear as Save as type.
Click Export, review the SVG options, and confirm your settings.
For most simple graphics, the default settings are a reasonable starting point.
If you’re preparing vector designs for cutting machines, you can also learn how to create SVG files for Cricut in Illustrator to understand how to prepare and export artwork for Cricut projects.
You can also use File > Save As and select SVG. This method provides additional SVG configuration options, depending on your Illustrator version.
I recommend reviewing font handling, image embedding, and decimal precision when working with website graphics.
Finally, open the SVG in a browser to confirm that it displays correctly.
How Can You Convert PNG to SVG Without Losing Quality?
When learning how to convert PNG to SVG in Illustrator, remember that tracing quality depends heavily on the original image.
I always use the highest-resolution source available, especially for logos with thin lines or intricate details.
For simple designs, I avoid overly detailed tracing presets because they can generate unnecessary anchor points.
After converting the artwork, I inspect its edges at different zoom levels and simplify any uneven paths.
It’s also important to understand that vectorization cannot automatically restore details missing from a blurry PNG.
For particularly small or distorted logos, manually recreating the design with Illustrator’s Pen Tool or Shape Tools may produce cleaner results.
Why Does My SVG Look Blurry or Pixelated?
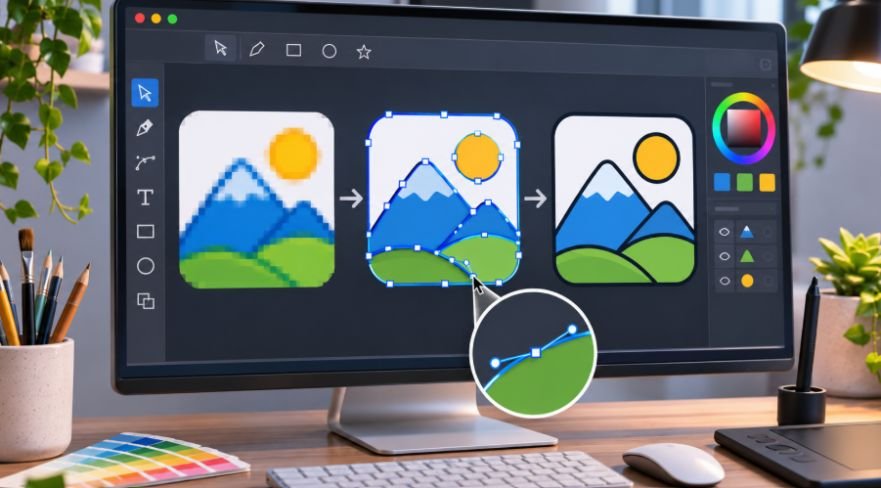
A blurry SVG often indicates that the exported file still contains raster artwork.
I first reopen the file in Illustrator and check whether individual vector paths are selectable.
If the graphic is still a single embedded image, I repeat the Image Trace process and expand the result.
I also examine the exported SVG at different sizes to check for uneven outlines.
If the image contains numerous complicated shapes, simplifying its paths can improve editing and sometimes reduce file size.
For website use, I avoid embedding unnecessary raster images because they can increase file size without improving scalability.
Frequently Asked Questions
1. Can Adobe Illustrator Convert PNG Images Into SVG Files?
Yes. Illustrator uses Image Trace to convert raster images into vector artwork. After expanding the result, you can export the editable paths as SVG.
2. How Do I Convert a Transparent PNG to SVG?
Import the transparent PNG, apply Image Trace, and adjust the tracing settings. Expand the artwork, remove unwanted background shapes if necessary, and export it as SVG.
3. Can I Convert PNG to SVG Without Image Trace?
Yes. You can manually recreate the artwork using the Pen Tool and Shape Tools. This approach is especially useful for simple logos that need precise outlines.
4. Why Is Image Trace Greyed Out in Illustrator?
Image Trace may appear unavailable when you haven’t selected a suitable raster image. Select the PNG using the Selection Tool and verify that you’re working with an eligible image object.
5. Is SVG Better Than PNG for Website Logos?
SVG is generally preferable for simple website logos, icons, and illustrations because vector shapes remain sharp across screen sizes. PNG remains useful for photographs and complex raster artwork.
Final Thoughts
Understanding how to convert PNG to SVG in Illustrator helps me create flexible graphics for websites, branding projects, and professional design work.
The process becomes straightforward once you understand Image Trace, Expand, background cleanup, and SVG export settings.
I recommend starting with simple PNG graphics, experimenting with tracing presets, and checking every exported SVG before using it in a finished project.
With practice, you can produce clean, scalable vector graphics that look professional across digital and print applications.