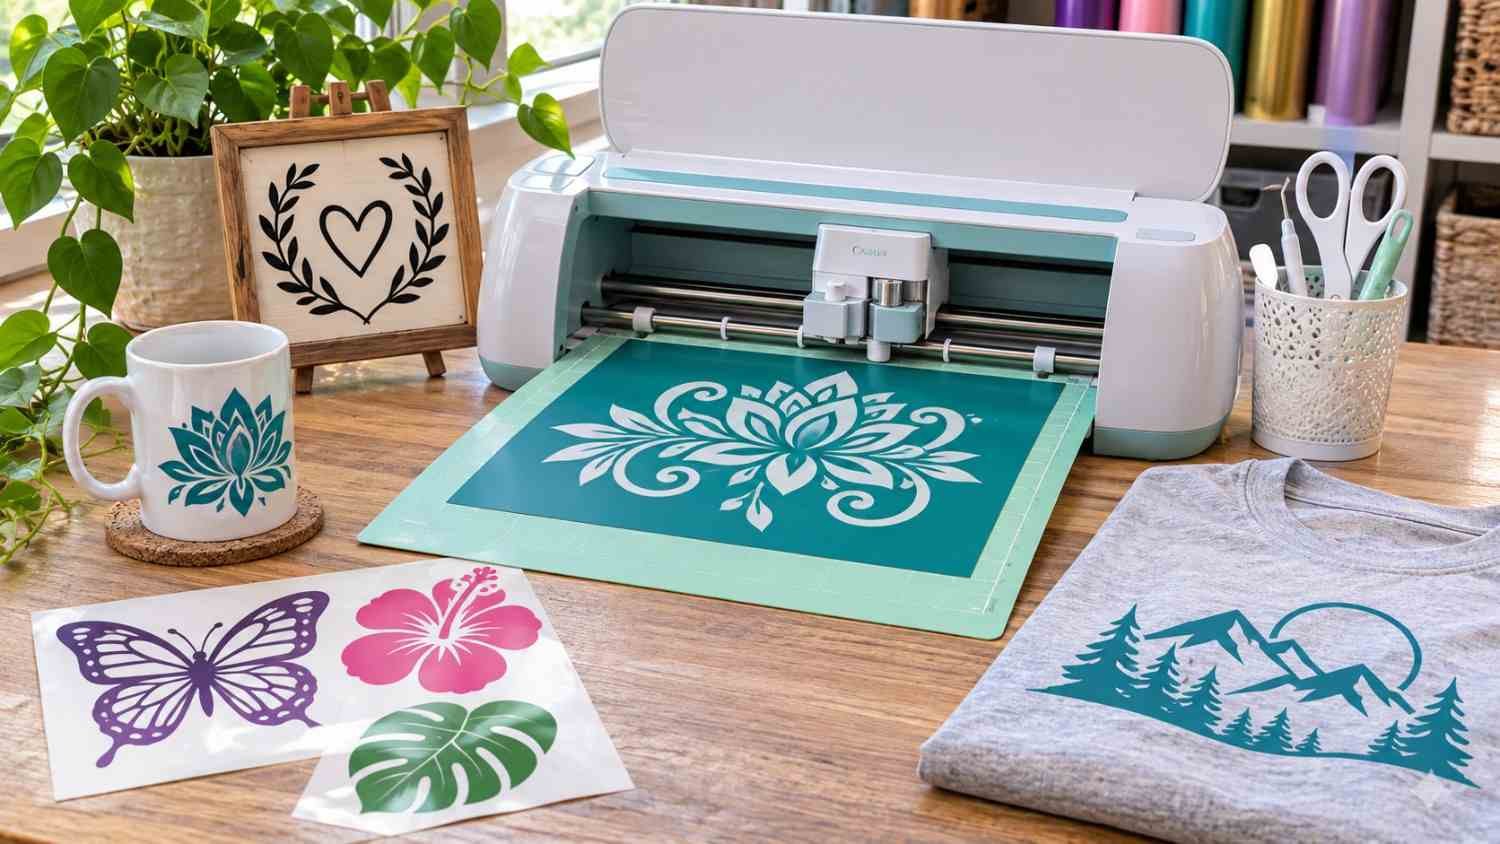
Learning how to create SVG files for Cricut in Illustrator allows you to turn custom artwork into professional-quality vinyl decals, T-shirt graphics, stickers, and personalized gifts. The process involves designing vector artwork, converting text and strokes into appropriate paths, organizing colors, and exporting an SVG that Cricut Design Space can recognize.
When I first started making Cricut SVG cut files, I discovered that exporting an attractive design wasn’t enough. Overlapping shapes, unsupported elements, and incorrect cutting paths could ruin an otherwise perfect project.
In this guide, I’ll explain the complete process, including the best Illustrator export settings, essential shortcuts, layered designs, and solutions to common cutting problems.
What Is an SVG File, and Why Should You Use It for Cricut?
SVG stands for Scalable Vector Graphics. Unlike PNG or JPG files, which contain pixels, SVG artwork uses mathematical paths that remain sharp when resized.
This makes SVG files ideal for Cricut cutting machines because the paths define where the blade should cut.
For example, you can create a personalized wedding sign, a small vinyl mug decal, or a large Fourth of July T-shirt graphic using the same scalable design.
SVG files also support separate vector objects, making multicolor projects easier to prepare in Cricut Design Space.
How to Create SVG Files for Cricut in Illustrator: Step-by-Step
I recommend beginning with simple lettering or geometric artwork before attempting intricate layered designs.
Step 1: Create a New Illustrator Document
Open Adobe Illustrator and select File > New.
Choose inches as your measurement unit and create an artboard appropriate for your project. For a small vinyl decal, a 6 × 6-inch document provides a convenient starting point.
Select RGB color mode and keep your artwork within the intended design area.
Step 2: Design Your Artwork Using Vector Shapes and Text
Use the Type Tool, Pen Tool, Rectangle Tool, or Ellipse Tool to create your design.
For example, you might combine a family name with a heart-shaped decoration for a personalized home sign.
I recommend using solid fills and simple shapes because complicated gradients, effects, and textures may not translate correctly into cut-only SVG files.
Step 3: Convert Text and Strokes Into Cut-Ready Paths
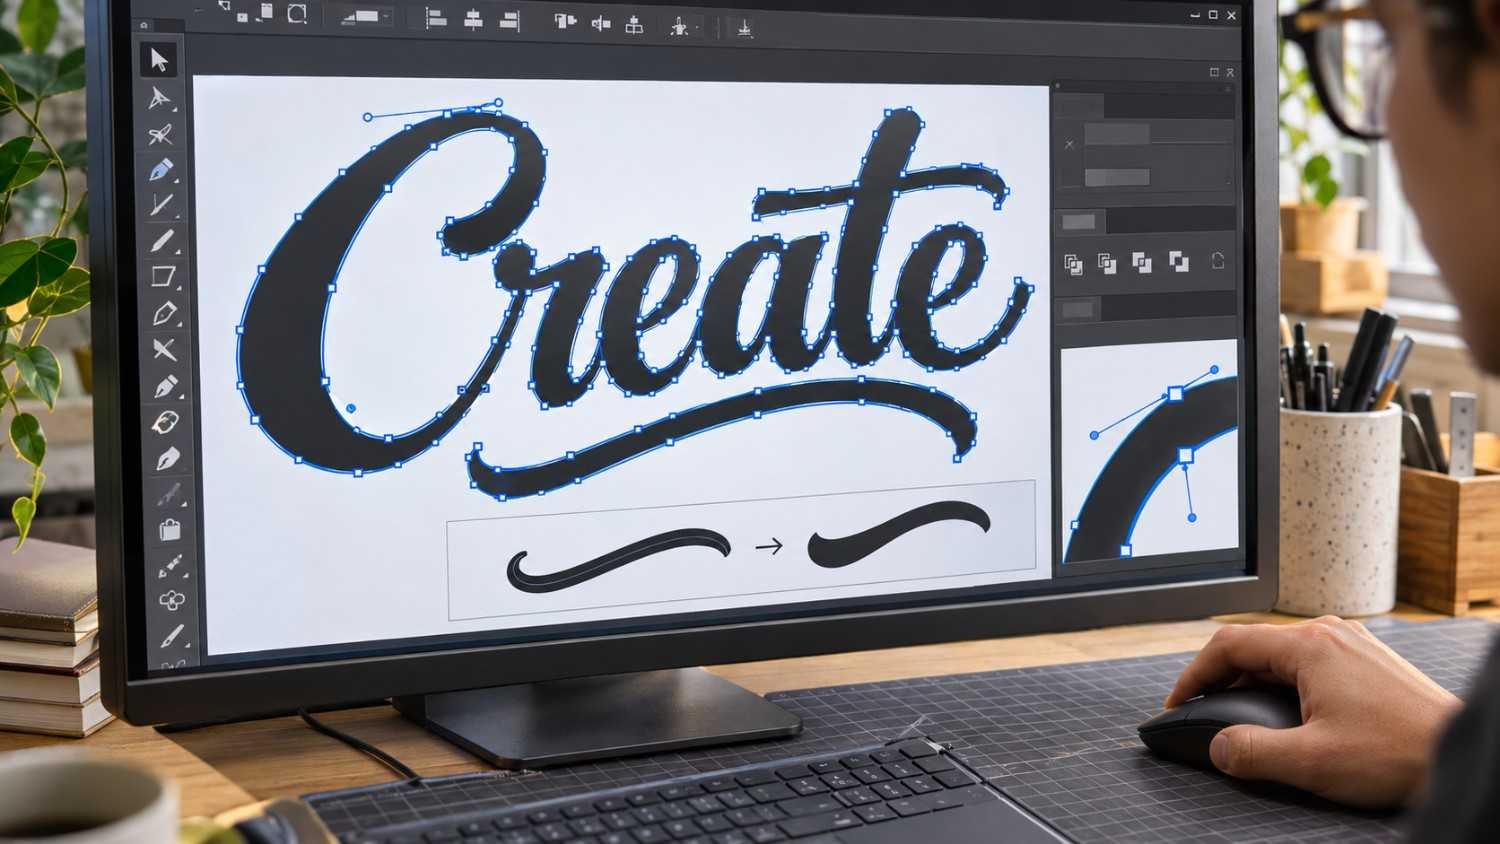
Before exporting, prepare your artwork so Cricut can interpret the intended geometry.
For text, select the lettering and choose Type > Create Outlines.
On Windows, press Ctrl + Shift + O. On Mac, press Cmd + Shift + O.
This converts editable fonts into vector shapes, preventing missing-font problems.
If your artwork contains thick strokes that must cut around their visible edges, select those strokes and choose Object > Path > Outline Stroke.
This transforms stroke thickness into actual vector boundaries.
However, keep intentional single-line drawing or scoring paths intact when their centerlines are the intended operation.
Step 4: Merge Overlapping Shapes and Remove Unwanted Lines
Overlapping artwork can create unwanted cutting lines.
Open Window > Pathfinder, select the shapes you want to merge, and click Unite.
I find this especially helpful for connecting overlapping script letters into one continuous cutting shape.
For designs containing holes, such as the centers of letters O and A, use Object > Compound Path > Make when appropriate.
The shortcut is Ctrl + 8 on Windows or Cmd + 8 on Mac.
Remember that compound paths combine paths into one object but do not automatically weld every overlapping region.
Press Ctrl + Y or Cmd + Y to enter Outline View and inspect stray lines, duplicate shapes, and unnecessary anchor points.
Step 5: Organize Single-Color and Multicolor SVG Layers
For a single-color decal, merge shapes that should form one continuous cut while preserving necessary openings.
For multicolor designs, organize vector shapes by their intended material colors.
Imagine creating a patriotic T-shirt with red lettering, blue stars, and white accents. Keep these elements separate so you can prepare their cutting operations individually.
You can create compound paths for compatible shapes of the same color when appropriate.
However, Illustrator colors and groups do not automatically guarantee separate Cricut cutting mats. Always verify the imported layers and material assignments in Design Space.
Step 6: Export the SVG Using the Best Illustrator Settings
Once your artwork is ready, select File > Save As or File > Save a Copy.
Choose SVG (.svg) from the file format options.
In the SVG Options dialog, use these settings where available:
| Setting | Recommended option |
| SVG Profile | SVG 1.1 |
| Fonts | Convert to Outlines |
| Decimal Places | Start with 3 |
| Styling | Simple SVG-compatible styling |
| Image Location | Avoid raster images for cut-only SVGs |
| File Format | SVG |
Adobe’s SVG export documentation explains how precision and other settings affect exported artwork.
For detailed curves, increase decimal precision if necessary.
Although Illustrator offers an Embed option for raster images, Cricut does not support embedded raster content in SVG cut-file uploads. Convert suitable images into vector paths instead.
Click OK to save your file.
Step 7: Upload Your SVG Into Cricut Design Space
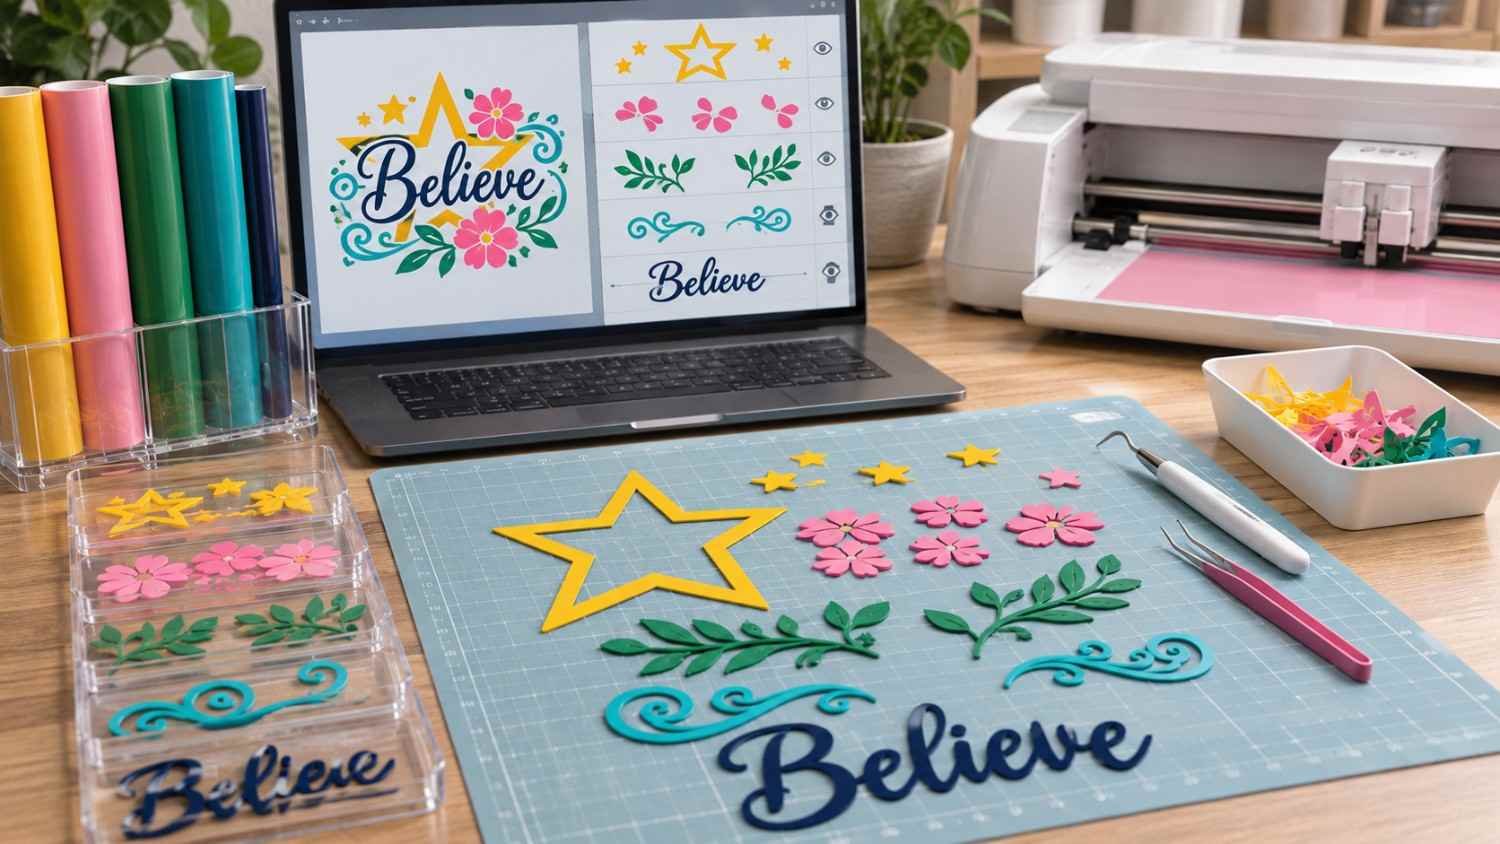
Open Cricut Design Space and start a new project.
Select Upload > Upload Image, browse for your saved SVG, and complete the upload process.
Choose the uploaded design and select Add to Canvas.
Examine the Layers panel to confirm that all elements imported correctly.
Adjust the dimensions, organize cut layers, and check the mat preview before cutting.
I recommend making a small test cut on inexpensive adhesive vinyl before using premium materials.
How Do You Convert a PNG or JPG Into a Cricut SVG?
If you already have a PNG or JPG design, Illustrator’s Image Trace feature can convert suitable artwork into vector paths.
Import the image using File > Place, select it, and open Window > Image Trace.
Choose a preset such as Black and White Logo for simple artwork.
Adjust the tracing settings, select Expand, and remove unnecessary background shapes.
Clean up overlapping paths before exporting the result as SVG.
Simply saving a PNG inside an SVG container does not create genuine vector cutting paths.
Why Is My Illustrator SVG Not Working in Cricut Design Space?
SVG upload problems often result from unsupported elements, unnecessary paths, or incorrect artwork preparation.
Why Does Cricut Show Unsupported SVG Elements?
Cricut Design Space does not support certain SVG features, including editable text, clipping paths, and pattern fills.
Convert text into outlines, simplify complex objects, and replace unsupported clipping paths with suitable vector geometry.
Why Does My SVG Have Extra Cutting Lines?
Duplicate paths, unmerged overlaps, and traced image artifacts can produce additional cutting lines.
Inspect the artwork in Illustrator’s Outline View and remove unwanted geometry.
Why Are My SVG Layers Not Separating Correctly?
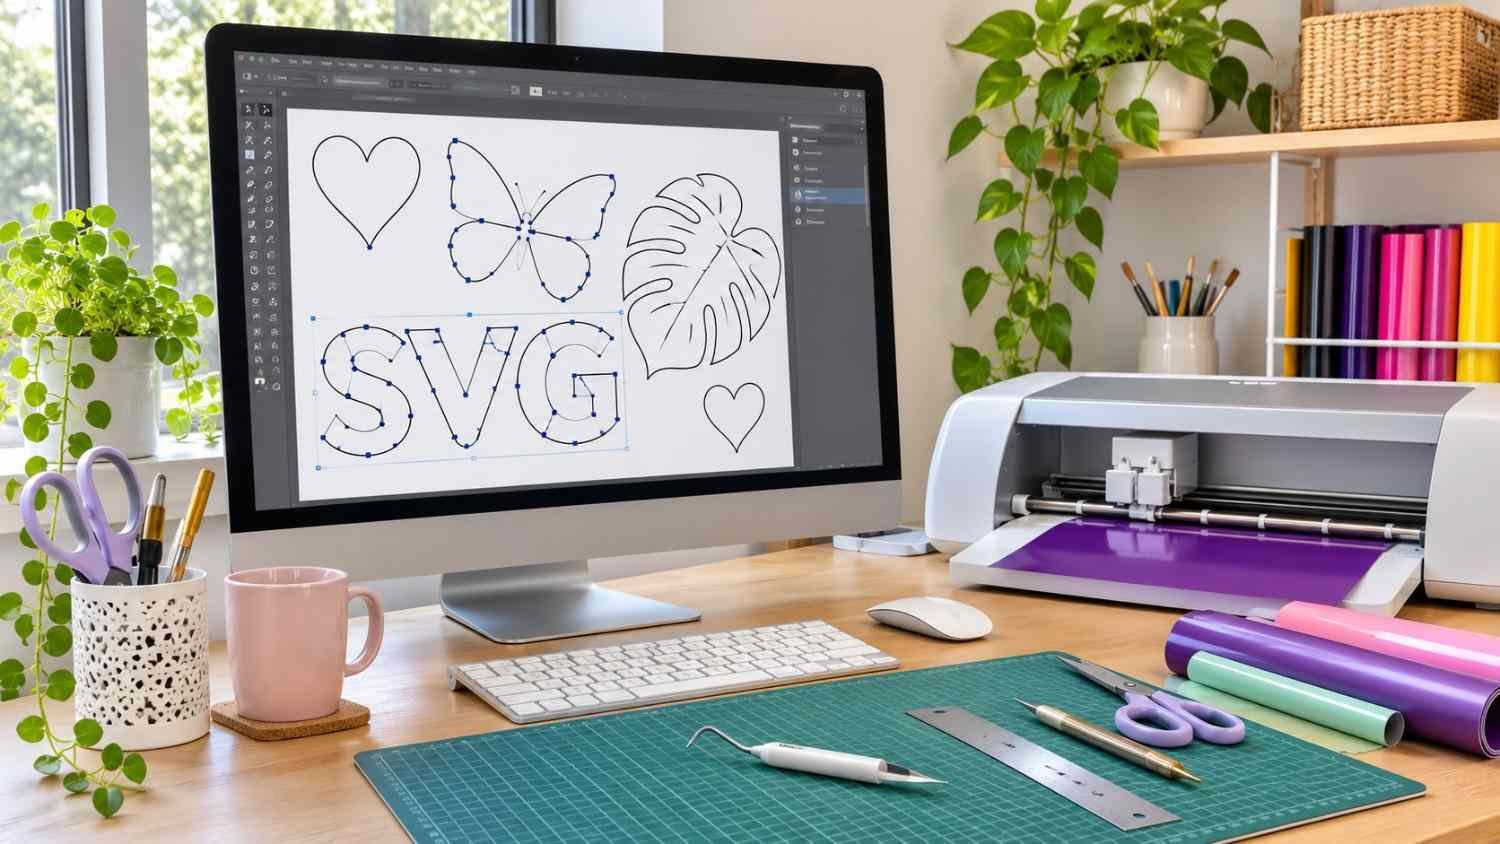
Check whether your artwork contains distinct vector shapes and whether Cricut assigned the intended operations and colors.
Ungroup imported artwork when necessary, then use Design Space’s Attach or Combine tools according to your cutting requirements.
Frequently Asked Questions (FAQs)
1. Can Cricut Read SVG Files Created in Adobe Illustrator?
Yes. Cricut Design Space supports compatible SVG files exported from Illustrator. Convert editable text into paths and remove unsupported elements before uploading.
2. Should I Use SVG or PNG for Cricut Designs?
SVG is generally better for scalable, layered cutting designs. PNG is useful for raster-based projects, especially Print Then Cut artwork.
3. How Do I Make Layered SVG Files for Cricut?
Create separate vector shapes for each intended color, organize them in Illustrator, and export the design as SVG. Verify the imported layers in Cricut Design Space before cutting.
4. Can I Sell SVG Cut Files Created in Illustrator?
Yes, you can sell original SVG artwork when you own the necessary commercial rights. Check font, illustration, and design-element licenses before selling digital downloads on Etsy or other US marketplaces.
Final Thoughts
Understanding how to create SVG files for Cricut in Illustrator makes designing custom decals, personalized gifts, and professional craft projects much easier.
I recommend focusing on clean vector paths, properly outlined lettering, organized colors, and compatible export settings. You can also use image trace in Illustrator to convert raster artwork into editable vector paths suitable for Cricut cutting projects.
Always test your SVG in Cricut Design Space before cutting expensive materials.
With practice, you can create reusable SVG cut files that make your Cricut projects more accurate, creative, and efficient.