A gaming desk can look spotless from the front while hiding a tangled mess of power cords, USB cables, and charging adapters underneath. That clutter is more than an eyesore. It can interfere with desk movement, complicate hardware upgrades, and create avoidable safety risks.
Learning how to organize cables and gadgets in a gaming setup starts with a simple strategy: remove unnecessary connections, create dedicated cable routes, and give every device a permanent location.
I have found that effective cable management rarely requires expensive accessories. A few reusable ties, an under-desk tray, and thoughtful equipment placement can transform even a compact gaming station.
How to Organize Cables and Gadgets in a Gaming Setup: 7 Practical Steps
Step 1: Disconnect, Sort, and Identify Every Cable
Turn off your gaming equipment and unplug devices before reorganizing their connections. Separate power cables, display cables, USB accessories, Ethernet connections, and charging cords.
Label both ends using removable tags. This prevents confusion when reconnecting monitors, controllers, or audio equipment.
Step 2: Install an Under-Desk Cable Tray
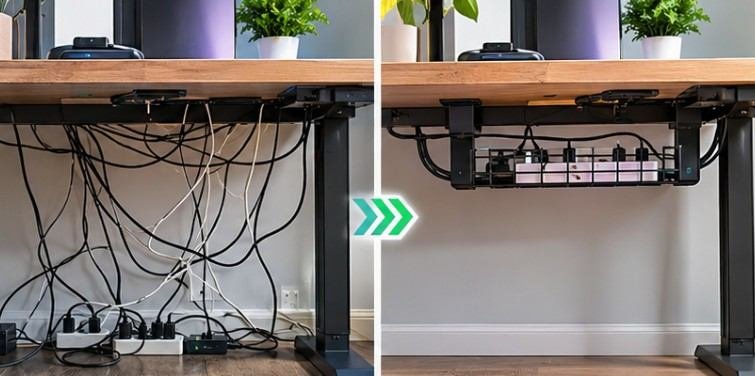
A cable tray provides a central location for excess wiring and adapters. Mount it underneath the desk using suitable clamps or manufacturer-approved hardware.
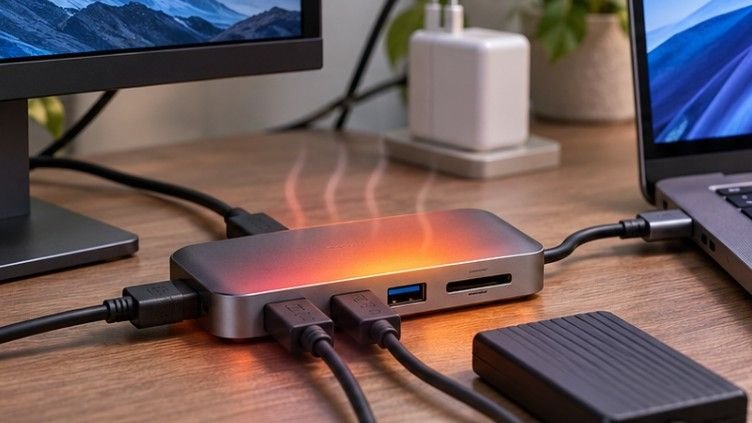
Keep connections accessible and avoid enclosing heat-producing power equipment in poorly ventilated spaces.
Step 3: Secure Wires With Reusable Cable Ties
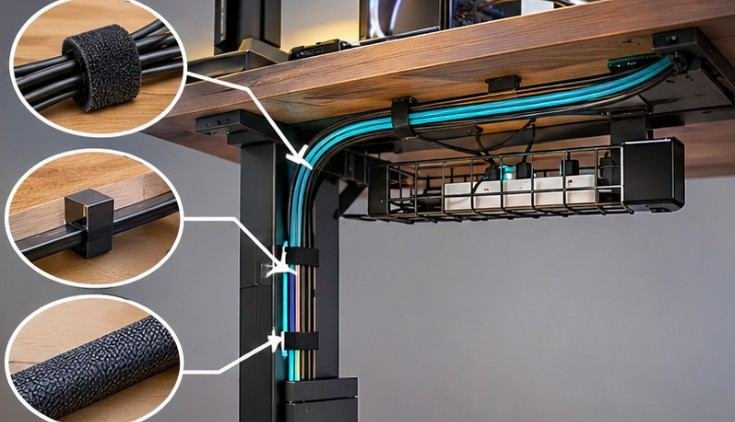
Hook-and-loop straps are generally more practical than tight plastic zip ties because they can be reopened when upgrading hardware.
Bundle cables loosely, avoid sharp bends, and keep power cords separate from delicate connectors where practical.
Step 4: Create Dedicated Cable Pathways
Guide monitor and peripheral cables along monitor arms, rear desk edges, or cable raceways.
Choose one primary route toward the power outlet rather than allowing wires to hang in different directions. Keep ventilation openings unobstructed.
Step 5: Keep Frequently Used Connections Accessible
Attach adhesive or magnetic cable clips near the desk edge.
Charging leads, headset connections, and controller cables remain within reach without falling behind the desk. Clean the mounting surface before applying adhesive clips.
Step 6: Assign Storage Spaces to Gadgets
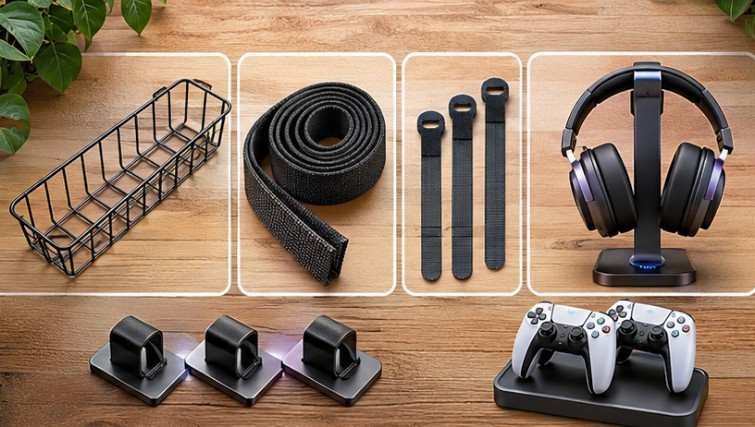
Use headset hooks, controller charging docks, small accessory drawers, and vertical stands.
Place frequently used equipment near your dominant hand and store spare adapters or unused controllers away from the main gaming surface.
Step 7: Test Cable Slack and Device Movement
Move your mouse, adjust your monitor arm, and raise your standing desk to its maximum height.
Connections should remain comfortable and secure throughout movement. Leave enough slack without allowing cables to drag across the floor.
Choosing the Right Cable Management Accessories
Different accessories solve different problems. Purchasing every organizer available usually creates unnecessary clutter.
| Accessory | Best Application | Main Advantage |
| Under-desk tray | Power adapters and excess cables | Keeps equipment off the floor |
| Hook-and-loop ties | Grouped cables | Reusable and adjustable |
| Cable sleeves | Multiple cords following one route | Conceals loose wiring |
| Adhesive clips | USB and charging connections | Provides quick access |
| Cable raceways | Desk legs and wall routes | Creates a defined pathway |
| Controller docks | Gaming peripherals | Reduces desktop clutter |
For most home gaming stations, I recommend beginning with an under-desk tray, reusable straps, and a few cable clips.
Add sleeves or raceways only after identifying cables that remain visible.
Protect Your Gaming Equipment From Electrical Hazards
Cable organization should never compromise electrical safety. The Electrical Safety Foundation International explains that ordinary power strips do not necessarily provide surge protection. A suitable surge protector offers additional protection for connected electronics, although no device guarantees protection against every electrical event.
Avoid connecting multiple power strips together or overloading outlets. The National Fire Protection Association also addresses fire-safety requirements surrounding relocatable power taps.
For expensive gaming PCs and consoles, choose properly rated electrical equipment, follow manufacturer instructions, and keep power connections accessible.
Never conceal damaged cords, route flexible power cords beneath carpets, or restrict airflow around charging equipment.
Wired vs. Wireless Gadgets: Which Creates Less Clutter?
Wireless peripherals can reduce visible wiring, but they do not eliminate every cable.
Wireless keyboards, mice, and headsets still require batteries or charging connections. Some gaming accessories also depend on USB receivers.
Wired equipment avoids charging interruptions and may offer a straightforward connection for competitive gaming.
The best approach is often hybrid: retain wired connections for stationary equipment while considering wireless options for frequently moved peripherals.
For comfortable positioning, Stanford University’s ergonomic guidance emphasizes keeping cables tidy alongside proper workstation arrangement.
Small Gaming Rooms and Standing Desks Need Different Strategies
A compact apartment gaming station benefits from vertical storage, monitor-mounted accessories, and under-desk organizers.
Avoid oversized cable boxes that consume valuable legroom.
Standing desks require more careful planning. Secure cables to appropriate moving sections, provide sufficient travel slack, and check that wires cannot become trapped inside lifting mechanisms.
A useful improvement is separating permanent connections from frequently disconnected accessories.
Keep monitor and computer power wiring behind the desk while positioning removable USB connections closer to the user.
The U.S. Department of Energy also recommends power strips and smart plugs as potential ways to reduce standby electricity consumption. However, avoid automatically switching off devices that require continuous power or background updates.
A Five-Minute Test for Your Finished Gaming Setup
Once everything is organized, evaluate the workstation before considering the project complete. Check whether you can identify and disconnect one device without disturbing another. Move your chair, adjust the monitor, and verify that no cords become stretched or trapped.
Next, inspect the underside of the desk for inaccessible power switches, loose adapters, and obstructed ventilation.
Finally, confirm that charging cables remain reachable and that frequently used gadgets have designated storage locations. If the setup passes these checks, your cable management is functional rather than merely decorative.
Frequently Asked Questions
1. What is the cheapest way to organize gaming cables?
Start with reusable cable ties, adhesive clips, and existing desk storage. Route wires along the back of the desk before purchasing additional organizers.
2. Should gaming PC cables be hidden completely?
No. Cables should remain accessible for maintenance, upgrades, and troubleshooting. Avoid hiding damaged connections or blocking ventilation.
3. How do I prevent cables from tangling under my gaming desk?
Separate cables by function, bundle compatible runs loosely, and secure them using an under-desk tray or cable clips.
4. Are wireless gaming accessories better for cable management?
Wireless accessories reduce visible cords but introduce charging requirements. A combination of wired stationary equipment and wireless movable peripherals often works best.
Final Thoughts
An organized gaming station should make playing, cleaning, and upgrading easier—not simply look impressive in photographs.
The most effective improvements usually happen underneath the desk, where cable trays, accessible power connections, and carefully planned routes eliminate unnecessary clutter.
I recommend starting with the equipment you already own, removing unused cords, and organizing permanent connections before purchasing accessories.
Remember that excellent cable management allows flexibility. Your setup should accommodate a new monitor, controller, or headset without requiring a complete rebuild. A truly clean gaming desk is one that stays organized long after the initial makeover.