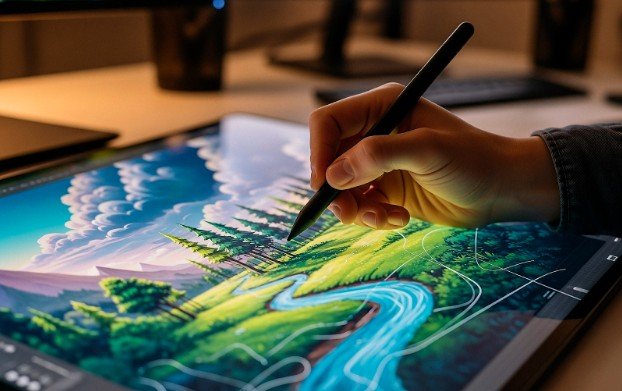
First I tried drawing on a screen, I assumed I needed expensive gear, complicated software, and years of practice before creating anything decent. I quickly realized that was not true. What helped me most was starting simple, choosing one setup, and following a clear process instead of overthinking every tool. That mindset changed everything.
If you feel stuck choosing between tablets, drawing apps, styluses, and endless tutorials, you are not alone. Many beginners face the same confusion. In this blog, I will walk you through the essentials you actually need, the easiest way to begin, and the practical habits that help you improve faster.
What You Actually Need to Begin
A beginner does not need a professional studio or high-end equipment. The essentials are surprisingly simple. Most people can start with a device they already own and a basic drawing app. Here are the three most common beginner setups.
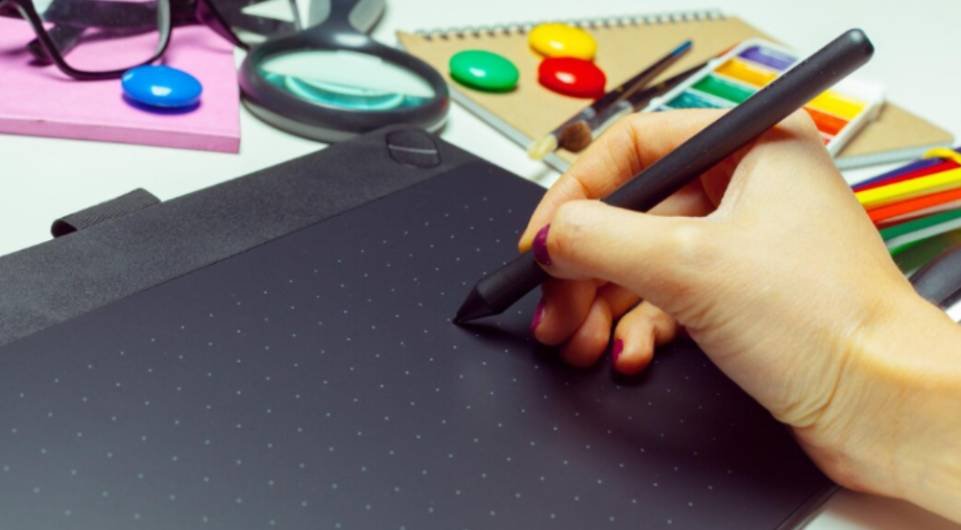
Tablet Setup
A tablet with a stylus is one of the most comfortable ways to draw digitally. It feels natural because you draw directly on the screen.
Computer With Drawing Tablet
Many artists use a laptop or desktop paired with a drawing tablet. This setup is affordable and powerful for learning.
Mobile Device Setup
Even a phone or standard tablet can work if you want to experiment before investing in better tools. The goal at the start is learning the workflow, not buying expensive gear.
Best Beginner Setup by Budget

A lot of guides talk about tools without explaining realistic budget options. Here is a simple breakdown that makes the decision easier.
Entry Level
Use the device you already have and install a beginner-friendly drawing app. Focus on learning layers, sketching, and color basics before buying anything else.
Mid-Level
Add a basic drawing tablet if you use a computer. This improves control and makes drawing feel more natural.
Advanced Beginner Setup
If you plan to draw regularly, investing in a dedicated drawing device or higher quality tablet can make the experience smoother. Remember, expensive equipment will not make someone a better artist. Consistent practice will.
Choose One App and Learn the Basics
Many beginners spend too much time comparing software instead of actually drawing. The smartest move is choosing one app and learning its basic tools. Look for these features when selecting your drawing app.
- Easy brush control
- Layer support
- Simple interface
- Transform and undo tools
- Ability to export and save files
You do not need to master every feature immediately. Focus on sketching, coloring, and organizing your layers.
My 7-Step Workflow for a First Digital Drawing
One thing that helped me improve quickly was following the same process every time I created a drawing.
Step 1: Start With a Simple Idea
Pick something small and manageable like a mug, leaf, shoe, or cartoon face. Simple subjects help you focus on learning the tools rather than struggling with complicated details. Starting small also increases the chance that you will actually finish your drawing, which builds confidence and momentum.
Step 2: Use a Reference
Looking at a reference image helps you understand proportions and shapes more accurately. Instead of guessing how something should look, a reference shows you how light, form, and structure actually appear. Over time, studying references improves observation skills and makes your drawings look more realistic.
Step 3: Create a Rough Sketch
Draw quickly without worrying about perfection. The goal is to capture the basic form and placement of your subject rather than creating a clean illustration immediately. Rough sketches act as a foundation, helping you experiment with composition and shapes before refining the final lines.
Step 4: Separate Your Layers
Use one layer for sketching, another for line work, and additional layers for color and shading. Working with layers allows you to edit individual parts of the drawing without affecting everything else. This flexibility makes digital art easier to adjust, refine, and improve during the process, especially when learning what tools do graphic designers use to structure and organize professional digital artwork.
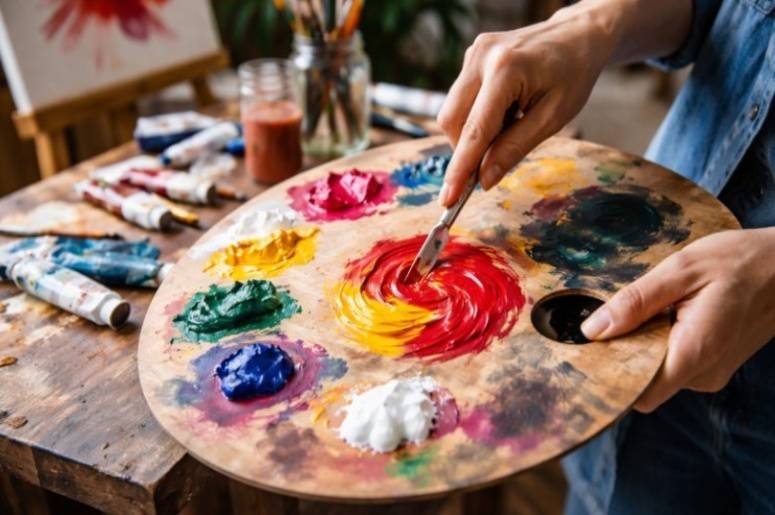
Step 5: Add Flat Colors
Fill the shapes with simple colors before adding details. Flat colors help define the major areas of your drawing and make it easier to see how the composition is coming together. At this stage, focus on keeping the colors clean and organized rather than worrying about shading.
Step 6: Add Shadows and Highlights
This step gives the drawing depth and makes it feel more polished. By adding shadows, you create contrast and form, which helps objects appear in three-dimensional space. Highlights add light and energy to the image, guiding the viewer’s eye to the most important parts of the artwork.
Step 7: Refine and Save
Clean up your lines, adjust colors, and save different versions of your work. Refining helps smooth rough edges and correct small mistakes that appeared during earlier steps. Saving versions along the way protects your progress and allows you to revisit earlier stages if needed.
Common Beginner Mistakes to Avoid

Learning digital art becomes much easier once you avoid a few common mistakes.
Trying to Learn Everything at Once
Many beginners try to master anatomy, lighting, color theory, and software tools all at the same time. Focus on one skill at a time.
Switching Apps Too Often
Changing software constantly slows your progress. Stick with one app until you understand the basics.
Drawing Complex Scenes Too Early
Start with small subjects you can finish quickly. Finishing work builds confidence and helps you gradually understand the differences between traditional and digital art, especially how digital tools allow easier corrections and experimentation.
Using Only One Layer
Layers are one of the biggest advantages of digital art. They allow you to edit parts of your drawing without ruining everything.
Ignoring References
References help improve accuracy and understanding of shapes.
Zooming Too Much
A drawing may look perfect when zoomed in but weak at normal size. Always check the full canvas.
A Simple Weekly Practice Plan
Consistency matters more than long drawing sessions. A small routine can help you improve steadily.
- Monday – Draw three simple objects using references.
- Tuesday – Practice clean lines and brush control.
- Wednesday – Create a quick black-and-white sketch.
- Thursday – Practice coloring and layer organization.
- Friday – Study simple lighting using a reference photo.
- Saturday – Finish one small drawing from start to finish.
- Sunday – Review your work and note what improved.
Staying Motivated When Progress Feels Slow
Many beginners quit because their eye improves faster than their drawing skills. They start noticing mistakes but do not yet know how to fix them. That stage can feel frustrating, but it is also a sign of progress.
What helped me most was keeping projects small and saving older work so I could see improvement over time. Comparing month-to-month progress is much more encouraging than comparing day-to-day.
Frequently Asked Questions
1. Do I need a tablet to start digital art?
No. You can begin with a phone, tablet, or computer. A drawing tablet simply makes the process easier and more natural.
2. Is digital art easier than traditional drawing?
Digital art includes tools like undo, layers, and transformations, which can make the learning process smoother. However, it still requires practice and patience.
3. What should beginners draw first?
Start with simple objects like everyday items, basic characters, or cartoon-style drawings. Small projects help build confidence quickly.
4. How long does it take to improve?
Improvement depends on how consistently you practice. Even short sessions several times a week can lead to noticeable progress over a few months.
Key Takeaways
When I first explored how to start digital art, I thought the process would be complicated and expensive. In reality, the hardest part was simply beginning. Once I stopped worrying about perfect tools and started focusing on practice, progress came much faster.
If you are just getting started, keep things simple. Choose one device, one drawing app, and one idea to sketch today. Over time, small drawings turn into bigger skills, and what once felt confusing becomes second nature. That simple approach is exactly what helped me truly understand how to start digital art and enjoy the creative journey along the way.